What is a Wet Palette? Why You Need One For Acrylic Paints – DIY or Pro
A wet palette is one of the first things you hear about when you work with acrylic paints. After the paints and brushes, you’ll need a palette.
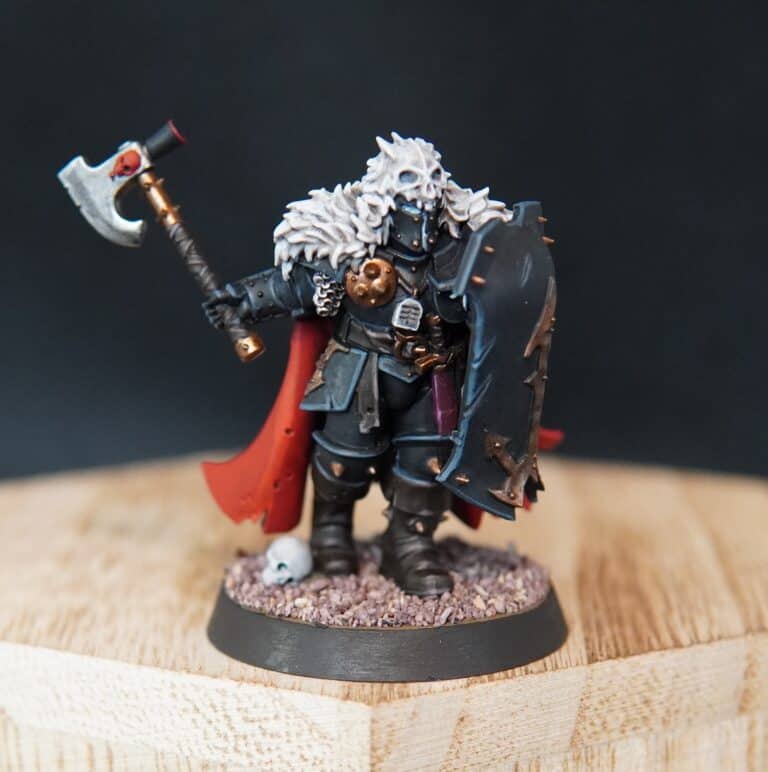
I personally had no idea what it was when I first heard the term. In Miniature Painting, we typically work with acrylics and a lot of the techniques involved are made easier with a wet palette.
So let’s talk about them.
What is a Wet Palette ?
A wet palette is a tool used in painting to extend the working time of acrylic paints. It consists of a shallow container with a layer of water-absorbent material such a sponge or paper towel, topped with a semi-permeable membrane like parchment paper. The paper slowly wicks the moisture and keeps wet. Acrylic paint is placed on the paper, where it stays activated and workable for hours, or even days. Since acrylic paints otherwise dry quickly, the wet palette helps in color mixing, paint conservation, and maintaining paint consistency.
In simple terms it’s a small flat box that has some water, a sponge and some specialized paper in it. You put the paints on the paper and they stay moist.
They’ll stay workable for hours and days in a wet palette, as opposed to a dry palette that would dry out in under an hour.
So imagine you’re sitting down to paint. You get a couple of hours in and you’re done for the night. Simply close up your wet palette, and all your paints are ready and waiting for you the next time you sit down the following day.
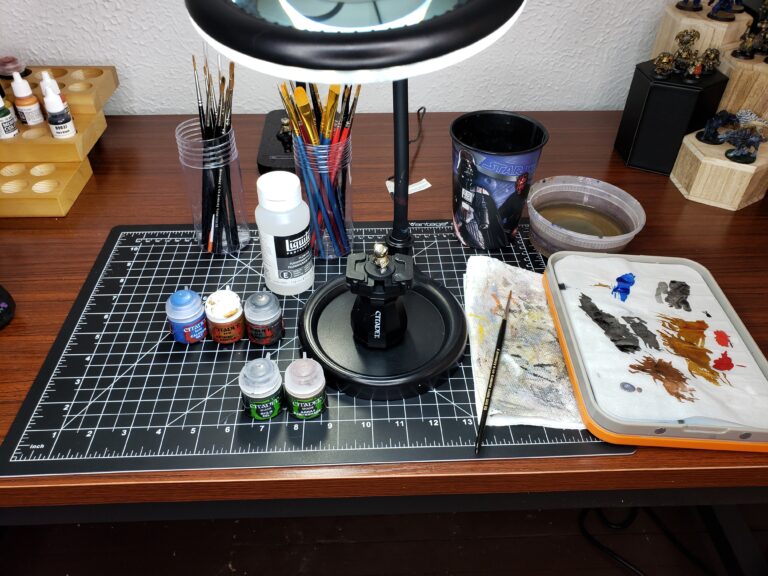
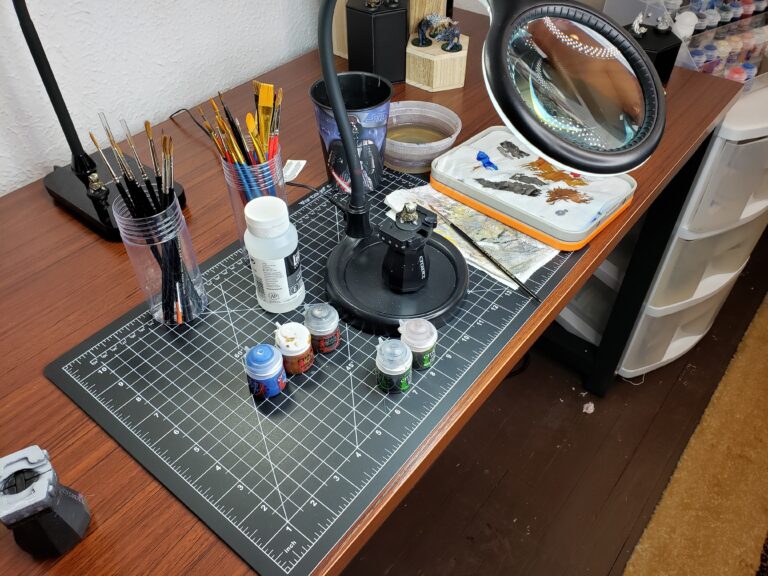
Here’s a shot of one of mine on my desk:
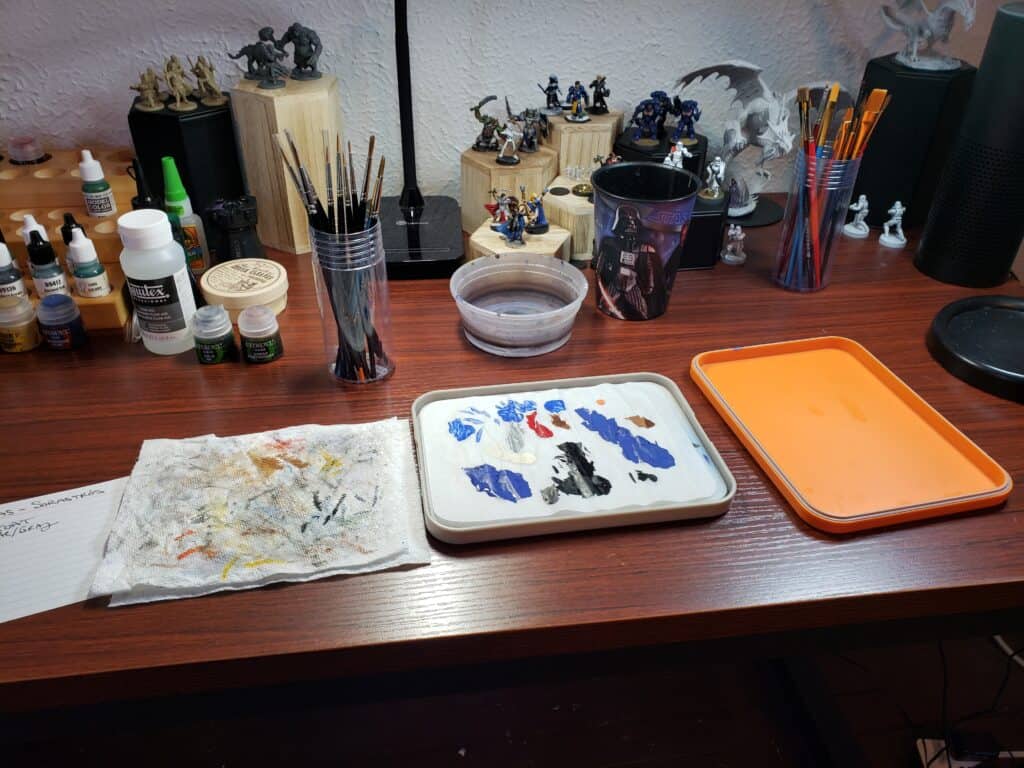
I have this one and a larger 8×11 wet palette that I use regularly. I’ll get into them and how you can DIY your own wet palette further down
In addition to saving you time and money on paints, wet palette make certain techniques easier. Let’s get into them now.
The Best Uses of a Wet Palette in Miniature Painting
Wet Blending
I wrote in depth about Wet Blending here if you’re looking to try it. Wet blending is basically the process of mixing two colors together to form a smooth transition between them. The idea being to use wet, or activated paints and blending them before they dry.
So for example if you have a red and orange, you smooth the transition between them to be more seamless.
A wet palette is ideal for this as it keeps your paints hydrated for much longer than they would be on a dry palette.
Layering
Layering is the process of adding a layer of paint onto your miniature. You can do this over the plastic or resin, over primer, or over a previous layer of paint.
Ideally you’re looking for thin layers, but depending on the goal you might want the paint a bit more opaque or transparent. The basic method of miniature painting that many people start with is layering.
You’ll often hear advice to thin your paints, and layer on the acrylics in smooth even coats. This method will give you a very clean look and it’s where I started my painting journey. In fact to this day I’ll start with a clean base coat of thin layers for my miniatures.
Faster and Smoother Painting
A wet palette makes it easier to mix your paints, or I should say it keeps your mixed paints workable a lot longer. So if you’re mixing a blue and green together to form a new color, it’s both easier to use the wet palette, and that mix will stay workable longer.
Another hobby tip I picked up is to put all the paints you’re planning to use on your palette. For example say you’re using blue and green for a persons clothes, some brown for leather belts and straps, and a flesh tone for their face and hands. You can have all that ready and keep it workable for a few days while you paint.
Painting miniatures with paint that flows easily off your brush makes it easy to apply. Your paint job will be smoother and cleaner.
Metallic Paints and Washes on a Wet Palette
A lot of people seem to say you shouldn’t use metallic paints on a palette. I agree but only because the metallics I use tend to separate quickly and don’t need any extra thinning.
When it comes to the metallic pigment corrupting the palette itself, I don’t see that as an issue. Maybe the pigment will get into your sponge but again, I don’t use metallic acrylic paints in my palette regardless.
As for a wash, they are already very thin so typically I will use either a dry palette, or simply out of the pot for citadel washes.
Saving Paint
I mentioned this before but it’s worth reiterating here in it’s own section: You’ll save a lot of paint with a wet palette. It’s an airtight container and if you keep the lid on, it’s not uncommon for your paints to stay workable over a week.
That alone has saved me so much paint.
The Three Simple Parts of a Wet Palette
Understanding the 3 simple parts of a wet palette will help you work with it. Let’s break it down.
The Container
The container is the base of the wet palette and holds all other components. Typically they are made of plastic and they need to be watertight. The container’s size can vary depending on the user’s needs but is generally shallow enough to allow easy access to the paints while deep enough to hold a sufficient amount of water.
Mine is about 1/2 inch deep, and it’s a full 1 inch with the lid on. It’s an 8″ x 11″ rectangle.
The Sponge
The sponge sits at the bottom of the container, under a thin layer of water. The sponge will absorb and hold water and slowly feed it through the paper that sits on top.
Just a note here also that you don’t need it to be a sponge, paper towels work as well. They wont hold the water as long as a sponge will, and I’m not sure if they’ll regulate how much water goes through the palette paper as well, but they get the job done.
The Palette Paper
This simply sits on top of the sponge. You can use parchment paper, but I end up buying paper specifically made for my palette. It works well, it’s pre-cut, and I can get them in batches of 50 sheets.
Any paper that allows moisture to keep it damp, without worrying it will fall apart is ok to use.
So the paper sits on the sponge, and the acrylic paints go on the paper. On top of the paper is where you’ll do all your mixing, thinning and blending.
Now that you know the 3 basic parts, we can talk about making your own or buying one.
How to Make a DIY Wet Palette
Creating your own wet palette is straightforward: Container, Sponge or paper towels, and some parchment or palette paper.
Materials Needed
- A shallow, watertight container (e.g., Tupperware, a takeaway container, or a dedicated palette box)
- An absorbent sponge or paper towel
- Parchment paper or a similar
- Scissors for cutting the sponge and paper to size
- Water
Step-by-Step Instructions
- Prepare the Container: Make sure your chosen container is clean and dry. The size of the container will depend on your painting needs, but it should be shallow enough for easy access to your paints.
- Cut the Sponge: Using scissors, cut your sponge or paper towel so that it fits snugly at the bottom of the container.
- Place the Sponge: Lay the cut sponge flat at the bottom of the container.
- Add Water: Pour water into the container until the sponge is fully saturated but not swimming in excess water. A thin layer of standing water at the bottom is okay.
- Cut the Palette Paper: Take your parchment paper and cut it to the same dimensions as the sponge.
- Position the Palette Paper: Gently lay the cut parchment paper on top of the wet sponge, making sure it fully contacts the sponge beneath. Smooth out any air bubbles for an even surface.
- Pre-wet the Palette Paper: For better adhesion and moisture consistency, some painters use a bit of water to pre-wet the parchment paper by misting it lightly.
- Test and Adjust: Before you begin painting, place a small amount of acrylic paint on the palette paper to test its moisture level. If the paint appears too dry, you can add a bit more water to the sponge. If it’s too wet, you can lift the paper and wring out some of the sponge’s water.
- Start Painting: Your DIY wet palette is now ready to use! Place your acrylic paints on the parchment paper and get to work!
Congratulations, you’ve just made your own wet palette!
Oh a quick note on the DIY container… if you’re familiar with Ferrero Rocher hazelnut chocolates, those containers are perfect to use. Plus you get to eat all the chocolate 🙂
Buying a Wet Palette
Ok so I just did my Best Wet Palette Round Up that you can check out, but for now let’s get into what I look for and recommend.
You want something that fits your workspace. If you don’t have a ton of free space get a smaller palette. I know Army Painter has a 5×7 inch option for example.
However, if you have the space I found that I like a big palette to work with. My desk was smaller originally, and now I’ve upgraded to a 55″ flat desk. So I’ve got the room.
Size, cost, quality, and if you want any special features on it are the main considerations. Here are my main choices:
Popular Brands and Recommendations
- Redgrass Games Everlasting Wet Palette Studio Lite XL: This is the big guy that I use. I’ve been using this specific palette for over five years and have found it to be perfect for my needs. If you have some space, grab it. This is about 8×11 inches, so it’s not crazy big. Roughly the same dimensions as a sheet of printer paper.
This also comes with a little magnetic dry palette. - Redgrass Games Everlasting Lite (Standard): I also own this one and it’s the same as the XL, just 8×6 inches. Perfect for tight spaces.
- Game Envy Exemplar Wet Palette: Really solid design on this. It’s 7.5 x 10.8 inches, so it’s a nice big size too. It’s got a spot to store your paint brushes, a little stand to hold your phone or whatever else, and a dry palette comes with it.
Wet Palette vs. Traditional Palette to Blend, Wash, Highlight and More
The short version is I suggest having both.
Dry Palettes are great for washes, oil paints, and metallic paints. I always have a small stack of round dry palettes available to use. They are cheap and you can reuse them for quite a while.
Wet Palettes are ideal for acrylic mixing, wet blending, layering, highlights and more. It will keep your paints workable and you’ll save time and money with one.
If cost is an issue you can easily DIY a wet palette and use paper plates as a dry palette. You can find the small acrylic dry palettes at a dollar store or Michaels, it’s under $6 for a 6 pack on amazon.
Choosing between a wet and a dry palette often comes down to your specific needs, painting style, and the medium you’re working with. However, for most acrylic painting scenarios, particularly miniature painting, a wet palette offers distinct advantages in extending paint life, improving consistency, and aiding color mixing.
Additional Resources
I always like to add some videos if possible so here we go:
The Grandaddy of all Wet Palette Videos:
I saw this about 4 or 5 years ago and it’s over 10 years old now! Great channel to sub to by the way. Pachow!
Another great creator is Squidmar, here’s his take on it: