Miniature Painting Start Here Guide: Beginners Start to Finish
How to get your first Mini painted from scratch
My goal here is to help the new person get his or her miniature painted and on the table. Understand that this guide is meant to be simple, direct, and to the point. I’ll link to more in depth articles on topics that need it.
The first thing to do is choose a miniature or model that interests you. I’ll suggest some kits below. Once you have that, the steps are as follows:
Painting a Miniature Start to Finish
- Get the basic equipment you’ll need, a brush and some paints is plenty
- Prime your model with a simple acrylic primer
- Apply a clean even base coat of colors
- Shade and Highlight your model with a wash and brighter tones (optional)
- Customize the base of your model (optional)
I will be assuming you have no equipment, just a miniature you’re interested in starting with. For those of you who don’t have a miniature in mind, I’ve got you covered as well. In fact, let’s start there:
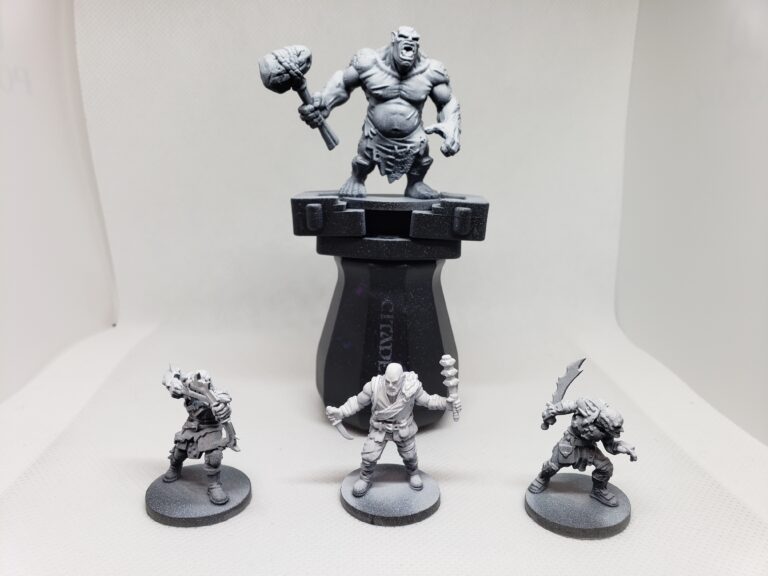
Picking Your First Miniature:
From D&D and Pathfinder, to Warhammer and HeroQuest there are a lot of miniatures out there. Maybe you saw a file on etsy or just got a 3d printer and are looking for advice on what to paint and how to paint it. My first step would be to browse this article on where to find miniatures, and pick something you like.
Alternatively, and this is how I started up again, pick a Learn to Paint set that interests you. Here are the ones I own and recommend:
Warhammer Age of Sigmar Learn to Paint
Any of those are excellent starts to your painting journey. Do not underestimate the importance of keeping things simple in the beginning. Once you learn the basics, the world of miniature painting really opens up for you. You can paint anything!
What you’ll need to get started Painting your first Miniature
To start out you will need:
- A miniature you’re interested in painting – see above
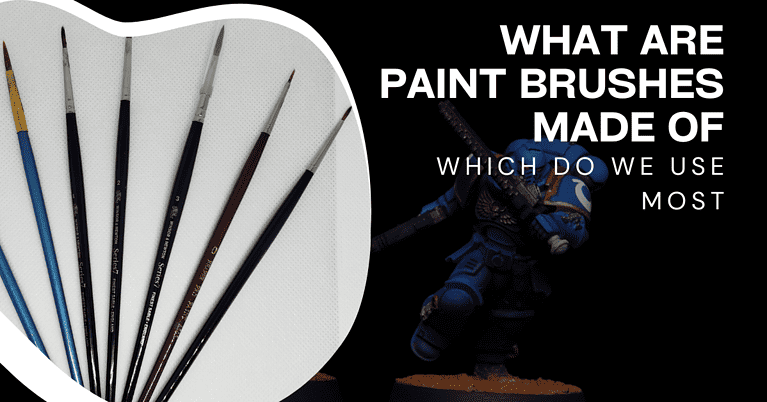
- One paint brush (at least, you can get more if you wish)
- Acrylic primer
- Acrylic paints in colors you want to use for the miniature
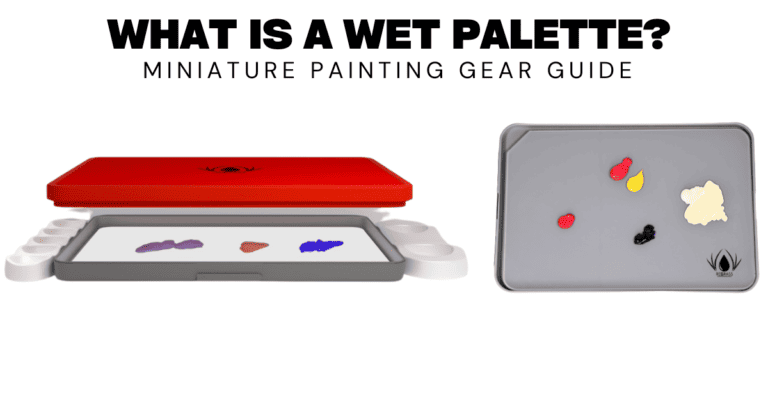
- A palette of some kind to put the paint on – you can absolutely DIY this with a paper plate or really any surface that’s semi water resistant.
- A cup of water
The take away here is that you can start for very little money. A simple Reaper figure costs 4 or 5 dollars. A single brush or set at a hobby store is very inexpensive, another $5 – $10 dollars at most. You can DIY the palette, and any old cup to hold the water will do. The cost can climb depending on the paints you want, and how many of them. I’ll cover paints and primers next.
Note: The Learn to Paint sets give you miniatures, a beginner brush and all the paints you need. So factor that in if you’re still deciding. It’s a great option.
Paints and Primers to Begin Miniature Painting
My recommendations:
Vallejo Primer
Vallejo Paint set
Paint colors are endless and can easily overwhelm you. Keep in mind you can also mix paints to create a lot more variety. A bit of white in your brown will make a lighter shade, so don’t feel like you need too many to start.
Try to limit the colors you will use to a handful. A limited palette of colors usually results in a better outcome when you’re starting. So have a look at the miniature and think about what is needed. A skin tone maybe, hair, any leather belts or backpacks. A cloak, fur, scales, armor, a sword.
Colors I would start with if you don’t want to get a full set include: Black, White, Brown (at least one shade, two is better. Brown works on a lot of things), Blue, Grey, Green, Yellow, Red and at least one metallic color like Steel or Silver, and one basic flesh color. Remember you can make colors lighter or darker, so if the flesh is too light or dark for your tastes it can be adjusted.
Note: Again the Learn to Paints give you the colors you’ll need. It’s a big help, especially once you look at all the shades of paint available! Then again, a small set of paints will let you experiment on your own.
Lets Start Painting Our Miniature!
Ok now we have everything we’ll need and it’s time to paint. Here are the most impactful things for painting:
- Make sure you can clearly see what you’re doing. Find an area with very good lighting, use magnification if you need it.
- Keep your hands steady: brace your palms together, use a painting handle, rest elbows on a table or your chest.
- Work on learning paint consistency: Paint should flow effortlessly, not be too thick or too watery. This will come with experience. Use good quality paints for best results. Cheaper paints will have bigger pigments and give lesser coverage.
- Work on brush control. Smooth even strokes. Get the paint where you want it. Learn to fix mistakes by painting over them.
- Have fun! Enjoy the process. You will get much better as you go. That’s the nature of skills and hobbies like painting. I still love looking at my early miniatures, even though they were not nearly as good as what I can do today.
Miniature Painting Step One: Priming
Priming is as simple as getting a bit of primer on your palette, and applying it to the figure in smooth, even strokes. Then let it dry. You can prep the miniature beforehand if you feel it’s needed.
There are 3 main ways of priming a miniature or model:
- Paint brush – Simply use a paint brush to apply layers of primer on the model.
- Spray can – Acrylic Primers sold in spray cans can be used on miniatures. Some paint brands have spray primers specifically for miniatures.
- Airbrush – Priming by airbrush is very similar to a spray can, although you can get a more even coat with an airbrush typically.
Which color to prime in is one of those personal preference questions. The 3 most popular options are black, white and grey.
My advice is to choose either Black or White to start. As a general rule of thumb, Black is helpful because if you miss any spots with paint in hard to reach places, it just looks like shadows. Brighter colors could do better with white. For example if you’re using bright yellow as a main color, white is much better for you as an option.
Here are the steps to priming:
- Clean and Prep: If needed, give the miniature a quick rinse and scrub with an old toothbrush and some soapy water. Then dry it. Sometimes miniatures have a bit of mold release agent on them. It helps get them out of their molds but might also prevent paint and primer from sticking. This is optional and I never do it for my Warhammer models, but it’s worth mentioning if you have issues with paint sticking.
- Primer on the palette, then Brush: Place a couple of drops of primer on your palette. Lightly dip your brush in a cup of water. Take a bit of the primer onto the brush. The goal here is not to have big glops of primer, or watery thin primer. Go for just right. You are working on the ability to apply smooth and even strokes.
- Apply Smooth Even Coats: Dont overthink this too much, even if you just slop it on, odds are it will be ok. I want you to think about achieving smooth even coats. It should not take long, so don’t feel the need to be slow and over deliberate. Just be mindful of the result and adjust for next time.
- Allow the primer to dry: Acrylic primer will dry pretty quickly, on average I might wait 20 minutes or so. Other sources say anywhere from 30 minutes to 2 hours! But my experience is it’s quicker. That said, if it’s looking wet, wait a bit more. You can also use a hair drier to speed this up to under 1 minute! Just don’t blow very hot air directly on it.
Miniature Painting Step Two: Base Coats
I like to think of base coating as paint by numbers. You’re simply identifying pieces of the model and painting them the proper color. Paint the face a flesh tone, paint her boots a leather brown, paint her cloak purple. For this step, shoot for “clean” application. Meaning thin coats evenly applied. This is achieved by working on your paint consistency, and your brush control.
The steps for base coating are:
1. Paint “inside out”: If your miniature has bare skin and a leather vest, start with the skin tone. It is more “inside” than the vest he’s wearing. Mistakes are easier to fix on outer layers.
2. Make sure you can see what you’re doing clearly. Good lighting and magnification is a huge help if you’re having trouble seeing what you’re doing.
3. Paint consistency is very important. If the paint is too think you’ll get streaks and a poor finish. Too thin will be very watery and take many coats to achieve a smooth opaque finish.
4. Brush control: this will come with practice but you want to be able to put the paint where you want it. Brace your arms and wrists for stability. Use a paint handle for more control. Try brushes that hold a sharp tip rather than extremely small brushes. Tiny brushes with barely any bristles will cause the paint to dry out very quickly and tend to give poor performance.
Base coating is a very important step. You will improve your skill at it with time and repetition. Try to get better at brush control and paint consistency as you practice.
A base coated miniature is what many people consider “table ready”. Meaning it’s at a point where you can stop and consider it done. Many people do stop at this point and other keep going. There are many things you can do to progress and improve the miniature from here. The main three are adding shadows, highlights and basing.
Miniature Painting Step 3: Shading your miniatures
Shading (also known as applying a wash) is the process of adding a darker tone to your miniature where shadows would be. It can be a very simple step but it’s also hugely impactful. Shadows add contrast and depth to your miniature. You’ll see details more clearly and your eyes will read it as more “real”.
The steps to shading your miniatures are:
- Apply a heavily thinned down paint over the surface of your base coated miniature. I suggest pre-made washes like Citadel Nuln Oil, or you can make this yourself by simply adding water to acrylic paint.
- Avoid pooling. Pooling is just the excess liquid that might build up as the wash runs over the surface. Simply wick it away with a damp clean brush.
- Allow it to dry. Once applied leave it alone. Disturbing the wash while it’s drying will leave stains and marks that ruin the effect.
Miniature Painting Step 4: Highlighting
Highlighting a miniature is the corollary to shading. You’re placing a lighter shade on surfaces that would be more lit up. If you think of someone standing in the sun, the top of her head, her shoulders, would be more lit up. Any creases in her clothing would be brighter on top and in shadow beneath the crease.
A simple trick to identify shadow and highlight is to place a light source over your miniature and see what the light does.
The steps to highlighting you miniature are:
- Apply lighter shades of your base coat where the light would be hitting the miniature.
- If you shaded the miniature with a wash, note that it darkens everything. So going back over with your initial base coat color is a form of highlighting.
- Consider adding highlights to any edges on your miniature. (See Edge Highlighting)
- The more dramatic the highlight, the more impactful it will be.
- If the highlight is large and drastic you will also need to transition from the brightest to darkest shades.
- Transitions are an advanced step requiring you to create a gradient between your colors. This can be done in many ways including glazing, wet blending, feathering and more.
*Edge Highlighting: This is the process of going over the edges of surfaces with a highlight color. A common example is the edges of large armored shoulders on miniatures.
So your miniature is primed, base coated, shaded and highlighted. The final step that makes a big impact is basing.
Miniature Painting Step 5: Basing
Many models come with custom bases that don’t need anything more than a coat of paint. For example models in Star Wars Legion or Warhammer, often come with bases that have rocks, grass, stones or ruins already on them. You’d just need to paint those.
Other models come on a simple round base with no distinguishing features. For those I would suggest a simple customized base.
Basing Suggestions:
- Texture Paints: These are thick semi-liquids that can be spread over a base. They dry out hard and are textured in various ways. Some look like mud, others sand, others crackle like a desert floor.
- Flock and Tufts: Flocking is meant to show up on your model as grass or foliage. Tufts are individual pieces of environment that look like tall grass, flowers, and more.
- Small Stones and Rocks: There are many options here, including small stone and cork that looks like a rock.
- Skulls and other specialized basing material: If you search a hobby shop for basing materials you’ll find all sorts of options. Citadel has a box of plastic skulls. Army Painter and others have basing sand and gravel. It’s a wide variety to choose from.
Some simple basing can go a long way to taking your miniature to the next level.