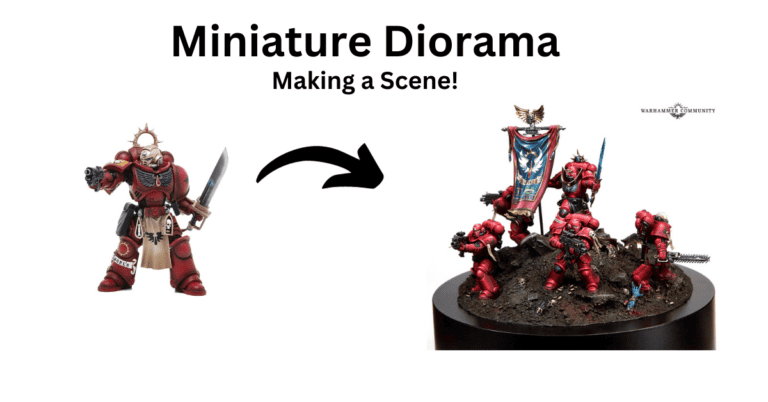
How to Easily Improve Your Miniature Bases – My Favorite Tips
There are a near infinite number of ways to base a miniature, but there are a lot of materials that come up over and over. We’ll talk about some of my favorites here.
Takeaways
- The base of a miniature can really help convey the setting it is in
- Basing can be very simple way to bring your miniature up to the next level
- Basing materials can be found around the house or outdoors, as well as bought.
- Bases are a great place to add color and different textures.
Miniature Basing
What are Miniature Bases? Bases are the bottom platforms that miniatures are attached to. They provide stability and a way to depict the surroundings the miniatures are in. Bases can be any size or shape although typically round, oval or square. In wargaming, movement is typically measured from the closest point on the base to the location you are moving to. Miniatures in wargames will have various standardized base sizes.
I’m still not fantastic at basing but I’ve learned a lot of easy ways to achieve a really solid base. Products like texture paints, tufts, glue and sand, are all great for a quick and effective look to your miniature’s base.
All bases are different but I will cover what you will need for some basic bases. We will start with pictures of the bases I’ve done and I’ll lay out what I used for them.
The big thing to understand is that a bit of effort with your base can help your overall miniature painting skill and results.
What are some good basing materials
This can encompass anything from glue to paint to some pebbles and twigs you found outside. If you’re looking for basing material that is pre-made for that purpose, there is plenty to choose from.
I’ll go through a list of the more common basing material:
PVA Glue: Any basing for miniatures starts with some glue. PVA glue is your standard white Elmers glue and can be used for a good starting point. You can add sandy texture by adding real sand over a thin layer of the glue for example.
Texture Paints: These make miniature basing simple. You literally just need to spread it over your base and you get instant texture, color and contrast. You can achieve a huge variety of looks: Mud, sand, lunar surfaces, cracked dry desert landscape, lush soil, and so much more.
Tufts and Static grass: Any grass will up your miniature basing game. I love tufts but static grass is worth looking into as well. The price for tufts can vary but a few small packages will go a long way. Different color tufts add contrast to your basing materials.
Gravel and Rocks: You can either find your own, or buy small pebbles that will look like rocks on your miniatures base. Rocks can also be represented with small bits of cork that you can paint to look like a stone.
Pigment Powders: I’ve only used Vallejo Pigments but I’m sure there are tons of others. Pigment is simply colored powder that you can dust onto miniatures and their bases. A little goes a long way, so grabbing a jar or two of the colors you like will last you for quite a while. You can also mix them for new and interesting colors and textures.
Sand and Dirt: Easily available in the great outdoors. Some people suggest baking the dirt to kill bacteria. I personally am putting it over glue and then adding a varnish over the top to seal it so I don’t bother with that. Honestly, I just buy a batch of pre made stuff and it looks better.
Cork and Styrofoam: Perfect for adding volume. Rocky bases or cliffs, snowy mountaints. Lots of uses for these in miniature basing.
Twigs and Leaves: You can find twigs outside easily enough. For leaves the scale is the issue. There are pre made leaves or leaf shaped hole punches you can use to make tiny leaves for your base.
How to Create a Variety of Bases for Miniature Painting
Pre-Made Bases
First up, the pre-made bases. I got this one with my Warhammer Shadespire: Steelheart Champions set.
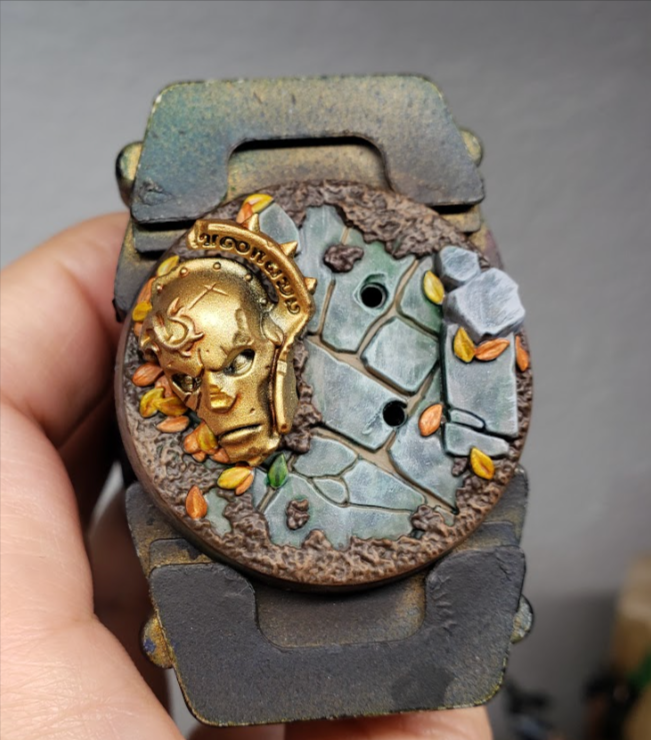
So on this one as you can see it’s all plastic with the base materials on it. You have the stone, surrounded with mud and dirt, some leaves and the giant helmet from a statue. For this base all I had to do was paint it. I used metallic gold for the helm, contrast paints for the leaves and mud, and then a mix of washes for the stone. Easy!
Enhanced Pre Made Bases
Next up you can take any pre-made base up a notch or two with some simple materials. Here you can see the plastic base has a representation of a stone column this guy is standing on.

All I did here was add some glue on the empty base areas, place some “Brown Battleground” basing material on top of that, and then some grass tufts. Very basic!
For this level you can try the Army Painter Basing Set. It’s solid for a starter kit. Just understand you can get the individual components for cheaper (probably), but it’s not really too overpriced considering the convenience.
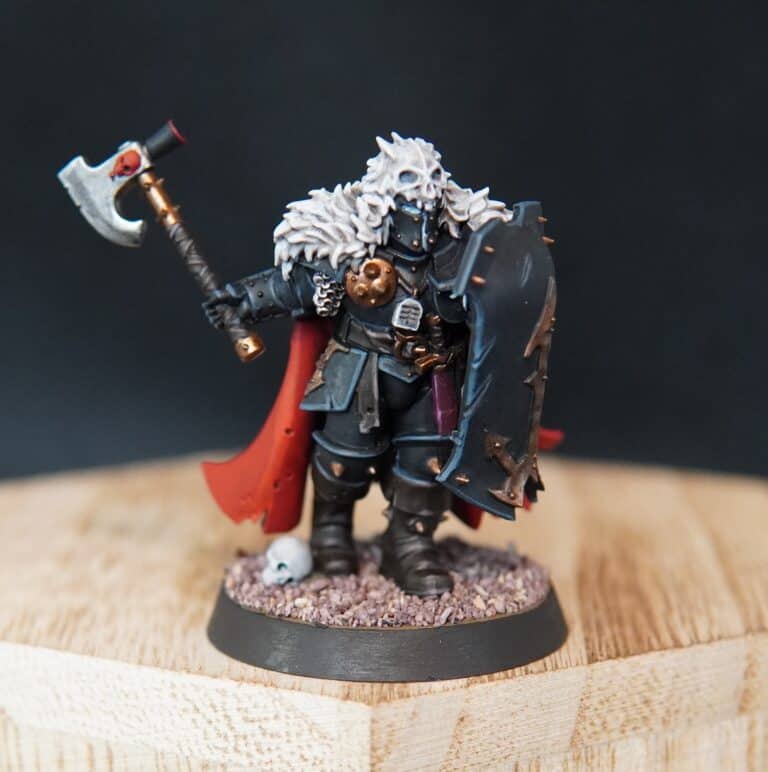
Simple Bases with Character
Next up is a more minimalist base, but with a couple of special touches. Below is my Galen Van Denst figure and you can see he has a really simple base. It’s just black battleground material (I think Army painter?) and a skull from Citadels Skull set.
Beyond that you paint the rim black, you add some paint to the skull and a bit of creepy green for a pop of color and interest. Done!

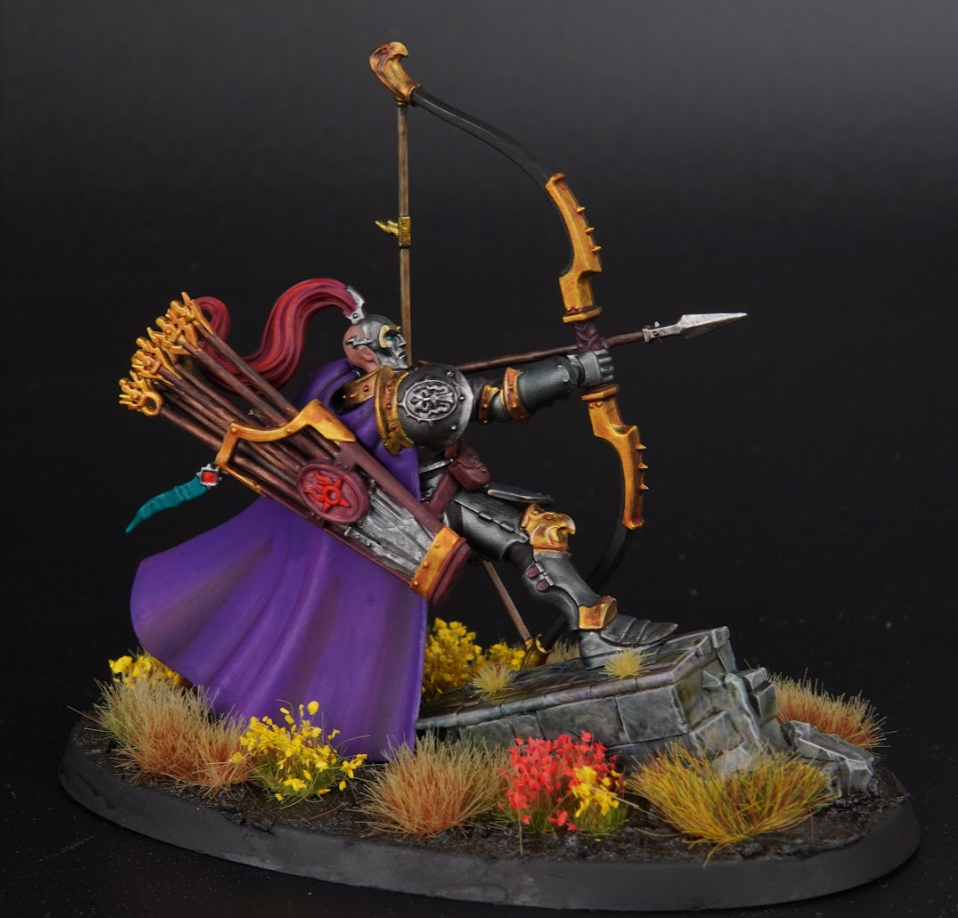
More Advanced Bases – Tufts & Texture
In this one you can see I put in a wide variety of tufts. Different color flowers, different color grass and some texture paint for the mud. For the texture paint I love Vallejo Earth. There is everything from Brown to really dark, almost black mud.
Tufts can be found from a variety of manufacturers. Some are quite elaborate and colorful. Others are rather bleak and dim, which can be great if you want to make your miniature stand out. If the surrounding is darker, the colors in your actual miniature will really pop.