How to Varnish Miniatures: Clear Coat Seal and Create Save Points
Takeaways
- Sealing miniatures will improve durability, and can set a “Save Point” to go back to if you make a mistake.
- Sealers and varnishes come in a variety of finishes: satin, gloss, matte and variations of all of them
- You can seal miniatures with a brush, spray can or airbrush
- ALWAYS test your sealer before using it on your finished miniatures to ensure you get the look you’re after.
Clear Coating, varnishing and sealing miniatures are all interchangeable terms that refer to the application of a clear protective layer onto your painted miniature. The basic idea is to use a varnish to protect your work. For tabletop gaming it’s important to protect miniatures you’ll be handling regularly while playing.
Save Points: A lesser known use of varnishing is creating a “Save Point” for work. The basic idea is to clear coat at regular intervals as you paint. If you make a mistake, you can swab off the acrylic paints with a bigger brush and it will only go down to the previous varnish layer.
The other benefit is when working with very thin layers. Glazes or thinned contrast paints can be delicate when you apply them, and even after they dry. If you’re worried about disturbing those thin layers by putting something over it, a layer of varnish can help.
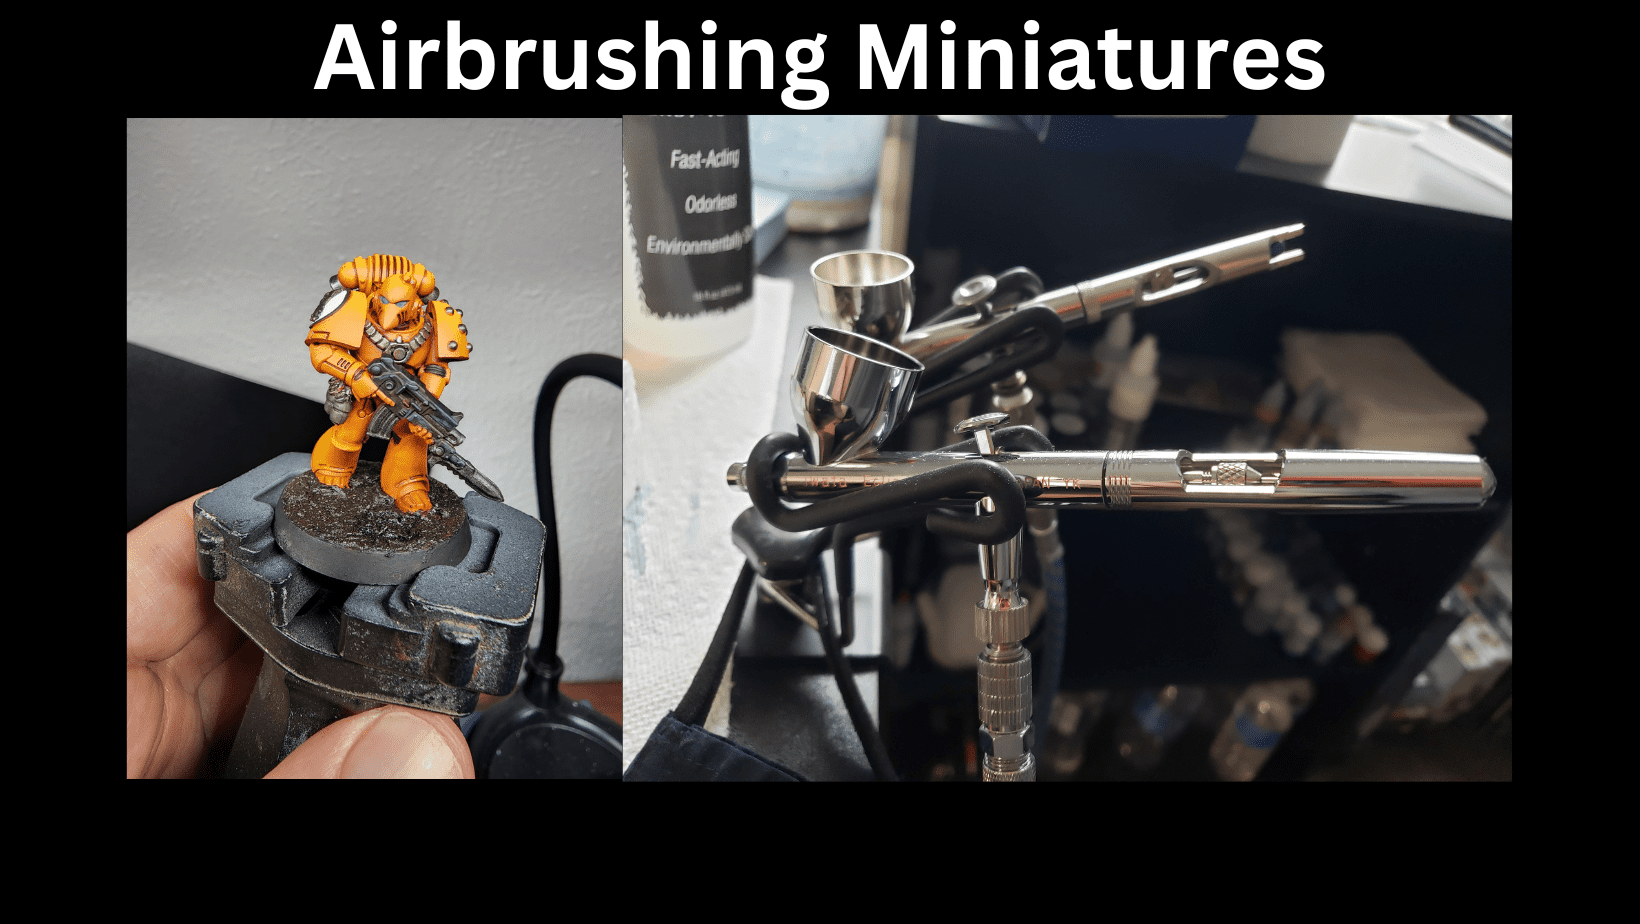
Save points can be done with any method of varnishing. I typically do it with my airbrush since it makes the process very quick.
What you’ll need and my quick recommendations
- Varnish or Sealer of your choice: Brush on and Airbrush sealers are identical, while spray on come in aerosol cans
- Choose the finish you are looking for: matte, gloss, satin, semi-gloss. You can also mix each to achieve very specific looks if you want to. (I sometimes do 2 drops matte to 1 drop satin in my airbrush)
- My choice for brush or airbrush: AK Interactive Varnish (my favorite is Ultra Matte) or Vallejo Mecha in the finish of your choice
- My choice for spray on: Testor’s Dullcote is the classic, tried and true.
- If you choose to apply your sealer with a brush or airbrush you’ll need them to apply it.
- A well ventilated area to spray if you’re using an airbrush or aerosol can. Outside is fine.
Sealing miniatures doesn’t require much in the way of equipment. A simple paint brush works. A spray can is self contained and doesn’t need more gear. I use an airbrush and sealing was one of the reasons I got it. The big thing to be aware of with the spray can or airbrush is location. You can use your spray can outside, or in a well ventilated area.
I’ll probably repeat this a lot but please test your varnish on something before using it on your finished miniature. It could be impacted by temperature, moisture, you didn’t shake it enough, the surface of the miniature, you got a bad bottle of it, and other factors.
I have an old test mini I use when I get a new bottle of… well anything.
Varnish Types: Matte, Satin, Gloss and other Finishes
Matte and Ultra-Matte Sealers: This finish is a more flat, dull, non reflective look. Roughly 10% shine to it depending on brand. It is my personal favorite as it adds a sense of realism to my miniatures.
Satin Sealers: This has a shinier appearance when compared to matte. Satin is the mid point between flat and glossy. Satin would be around 30% reflective compared to 10% for Matte.
Gloss, High Gloss and Semi-Gloss Sealer: Gloss is a very shiny looking finish. Again it will depend on brand and if you are using Semi, High or standard gloss. Gloss is up over 50% reflective.
My Favorite Airbrush Varnish: AK Interactive Ultra Matte Varnish. I mix 10 drops of this with 3 drops of AK interactive Satin Varnish and 1 drop of airbrush thinner. I just like the look.
The finish you use is a matter of preference. This is an example of how experience and testing will help inform your decisions. Testing a varnish will let you see the finish and decide if you’d like it to be more matte, satin or gloss.
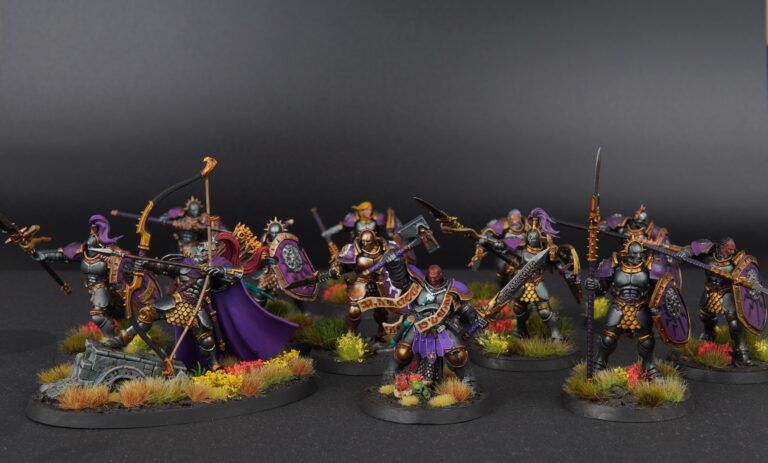
Here are 3 miniatures I’ve painted that can give you an idea of the finishes: Semi Gloss, Satin and Matte

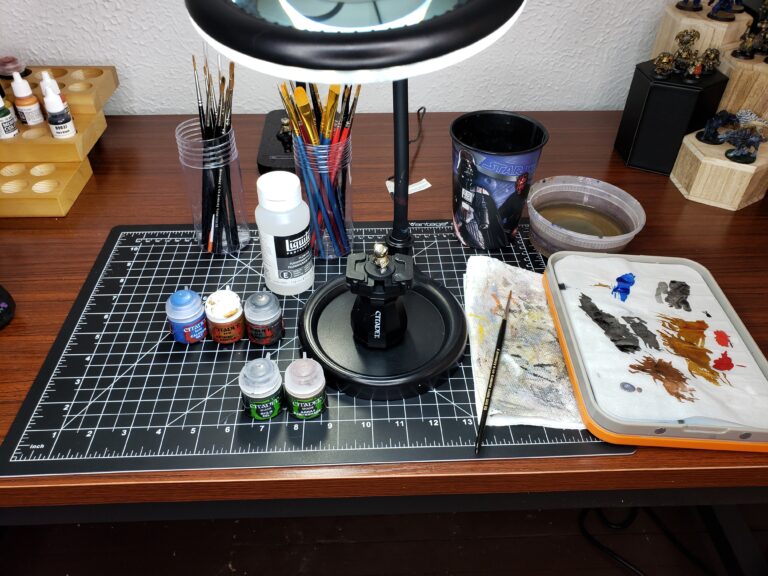
Steps for Sealing Miniatures with a Brush
- Gather your gear: Paint brush, sealer, miniature, a palette to put the liquid sealer on
- Place a few drops of varnish on your palette
- Load your brush with varnish and blot off any excess
- Apply to your miniature with smooth even strokes.
- Work in sections, applying briskly.
- Do not disturb the varnish once it is starting to dry.
Sealing miniatures uses the same rules as painting. You want quick, smooth and even strokes, not rushed. Try to work in sections. For example one leg, then the other, move to the arms, then torso and so on.
Once you complete a section give it time to dry, don’t disturb it while it’s drying or you might get odd effects like a frosted look or streaks.
A fully dry miniature after this process will take 20-30 minutes. It should not feel “tacky” once completely dry.
Steps for Sealing Miniatures with Spray Can Varnishes
- Make sure you shake the can very well. More than you’d think you should.
- Spray in a relatively dry, warm climate. Too cold or humid might impact the result.
- For spray cans be sure you test the results before using it on your miniatures.
- Spray short bursts from a distance of 6-12 inches, passing the spray over the miniature in sweeping motions.
- Make sure you hit the miniature from multiple angles.
- Don’t over spray or disturb the varnish while it’s drying.
- Allow 30-40 minutes for it to dry.
Spray can varnish has some big advantages over the brush method. It’s cheap and it’s much faster. The biggest problem with spray can sealers in my experience is you can run into some bad finishes. Either a frosted look or uneven levels of gloss/matte/satin.
More often than not the spray cans are fine to use. I would just be sure to test the can on something you don’t care about before using it on a miniature you spent hours painting.
Steps for Sealing Miniatures with an Airbrush
- Set your air pressure to a moderate range, I like roughly 25 psi or just under 2 bar on the gauge.
- Shoot 2-3 drops of airbrush flow improver through your airbrush to lubricate it and get it ready to spray
- Shake your preferred varnish really well.
- Add 5-10 drops of varnish to the airbrush cup.
- Spray in even back and forth strokes, roughly 6-10 inches from the miniature
- Spray in pulses (on and off cycles) rather than one long steady stream.
- Be sure to spray in multiple angles so you get varnish on all surfaces.
- Once it starts to dry, don’t disturb it for 30-40 minutes at least.
Varnishing with an airbrush is the same process you’d use to apply a thin base coat or primer coat. The process is light passes over the miniature with varying angles to ensure full coverage.
You can thin down your varnish, and I personally do add a drop of airbrush thinner to mine for every 10 drops of varnish. It’s not necessary I just feel like my favorite varnish is a tad on the thicker side so I do it.
You can mix varnish types in the airbrush cup. Meaning if you have gloss and satin you can mix them for an in between finish. Again my most commonly used varnish is a mix of AK Interactive Ultra Matte and Satin mixed in a 10:3 ratio. It gives a very matte look that I have been using for a few years at this point. The majority of my miniatures have this but I’ll change it up when the situation dictates it.
Other Considerations
When it comes to sealing miniatures the biggest considerations are how you’ll apply it and what finish you want. I would say if you’re starting out, a brush or spray can can do the job just fine. A spray can can definitely do the job, I just find I trust them less than the other methods. So use caution.
A big benefit of the brush on method is control. You can apply matte varnish on one part of the miniature, and gloss on another. While this is possible with a can or airbrush, it’s much more complicated.
Long term if you’re considering an airbrush, varnishing is a perfect use for it. It’s one of the foundational uses for an airbrush in miniature painting, along with priming and base coating. Especially if you’re looking to get multiple figures done quickly, an airbrush helps a lot.
At the end of the day, do what works for you!