Best Primer for 3D Prints: Resin and PLA, Spray vs Brush On Primers
The goal of a primer is to give you a solid foundation that allows paint to stick well. This prevents it from chipping or warping off the 3D print or whatever you’re painting.
A clean, smooth prime should be a part of any painting process. Unless you’re using colored filament or resin, you’ll usually want to prime 3D prints and paint your 3D models and miniatures.
What is the best primer for 3D Prints? The best primers for resin or plastic (PLA) 3D prints are acrylic based primers. They can be applied with a spray can, airbrush or paint brush. Acrylics are durable, effective, non-toxic, inexpensive and dry quickly. A spray can and airbrush can get a lot of surface primed quickly. They also give very smooth finishes. A paint brush can do a good job of priming as well, although a bit slower.
There are a lot of primers on the market, and the best for your situation can be found below:
The Best Primers for 3D Prints: Best of the Best
Best Value Spray Can Primer for 3D Prints: Rust-Oleum Painters Touch Primer
Best Premium Spray Can Primer for 3D Prints: Citadel Chaos Black Spray Primer
Best Overall Brush On Primer for 3D Prints: Pro Acryl Primer (120ml)
Best All Purpose Acrylic Primer for 3D Prints: Vallejo Surface Primer
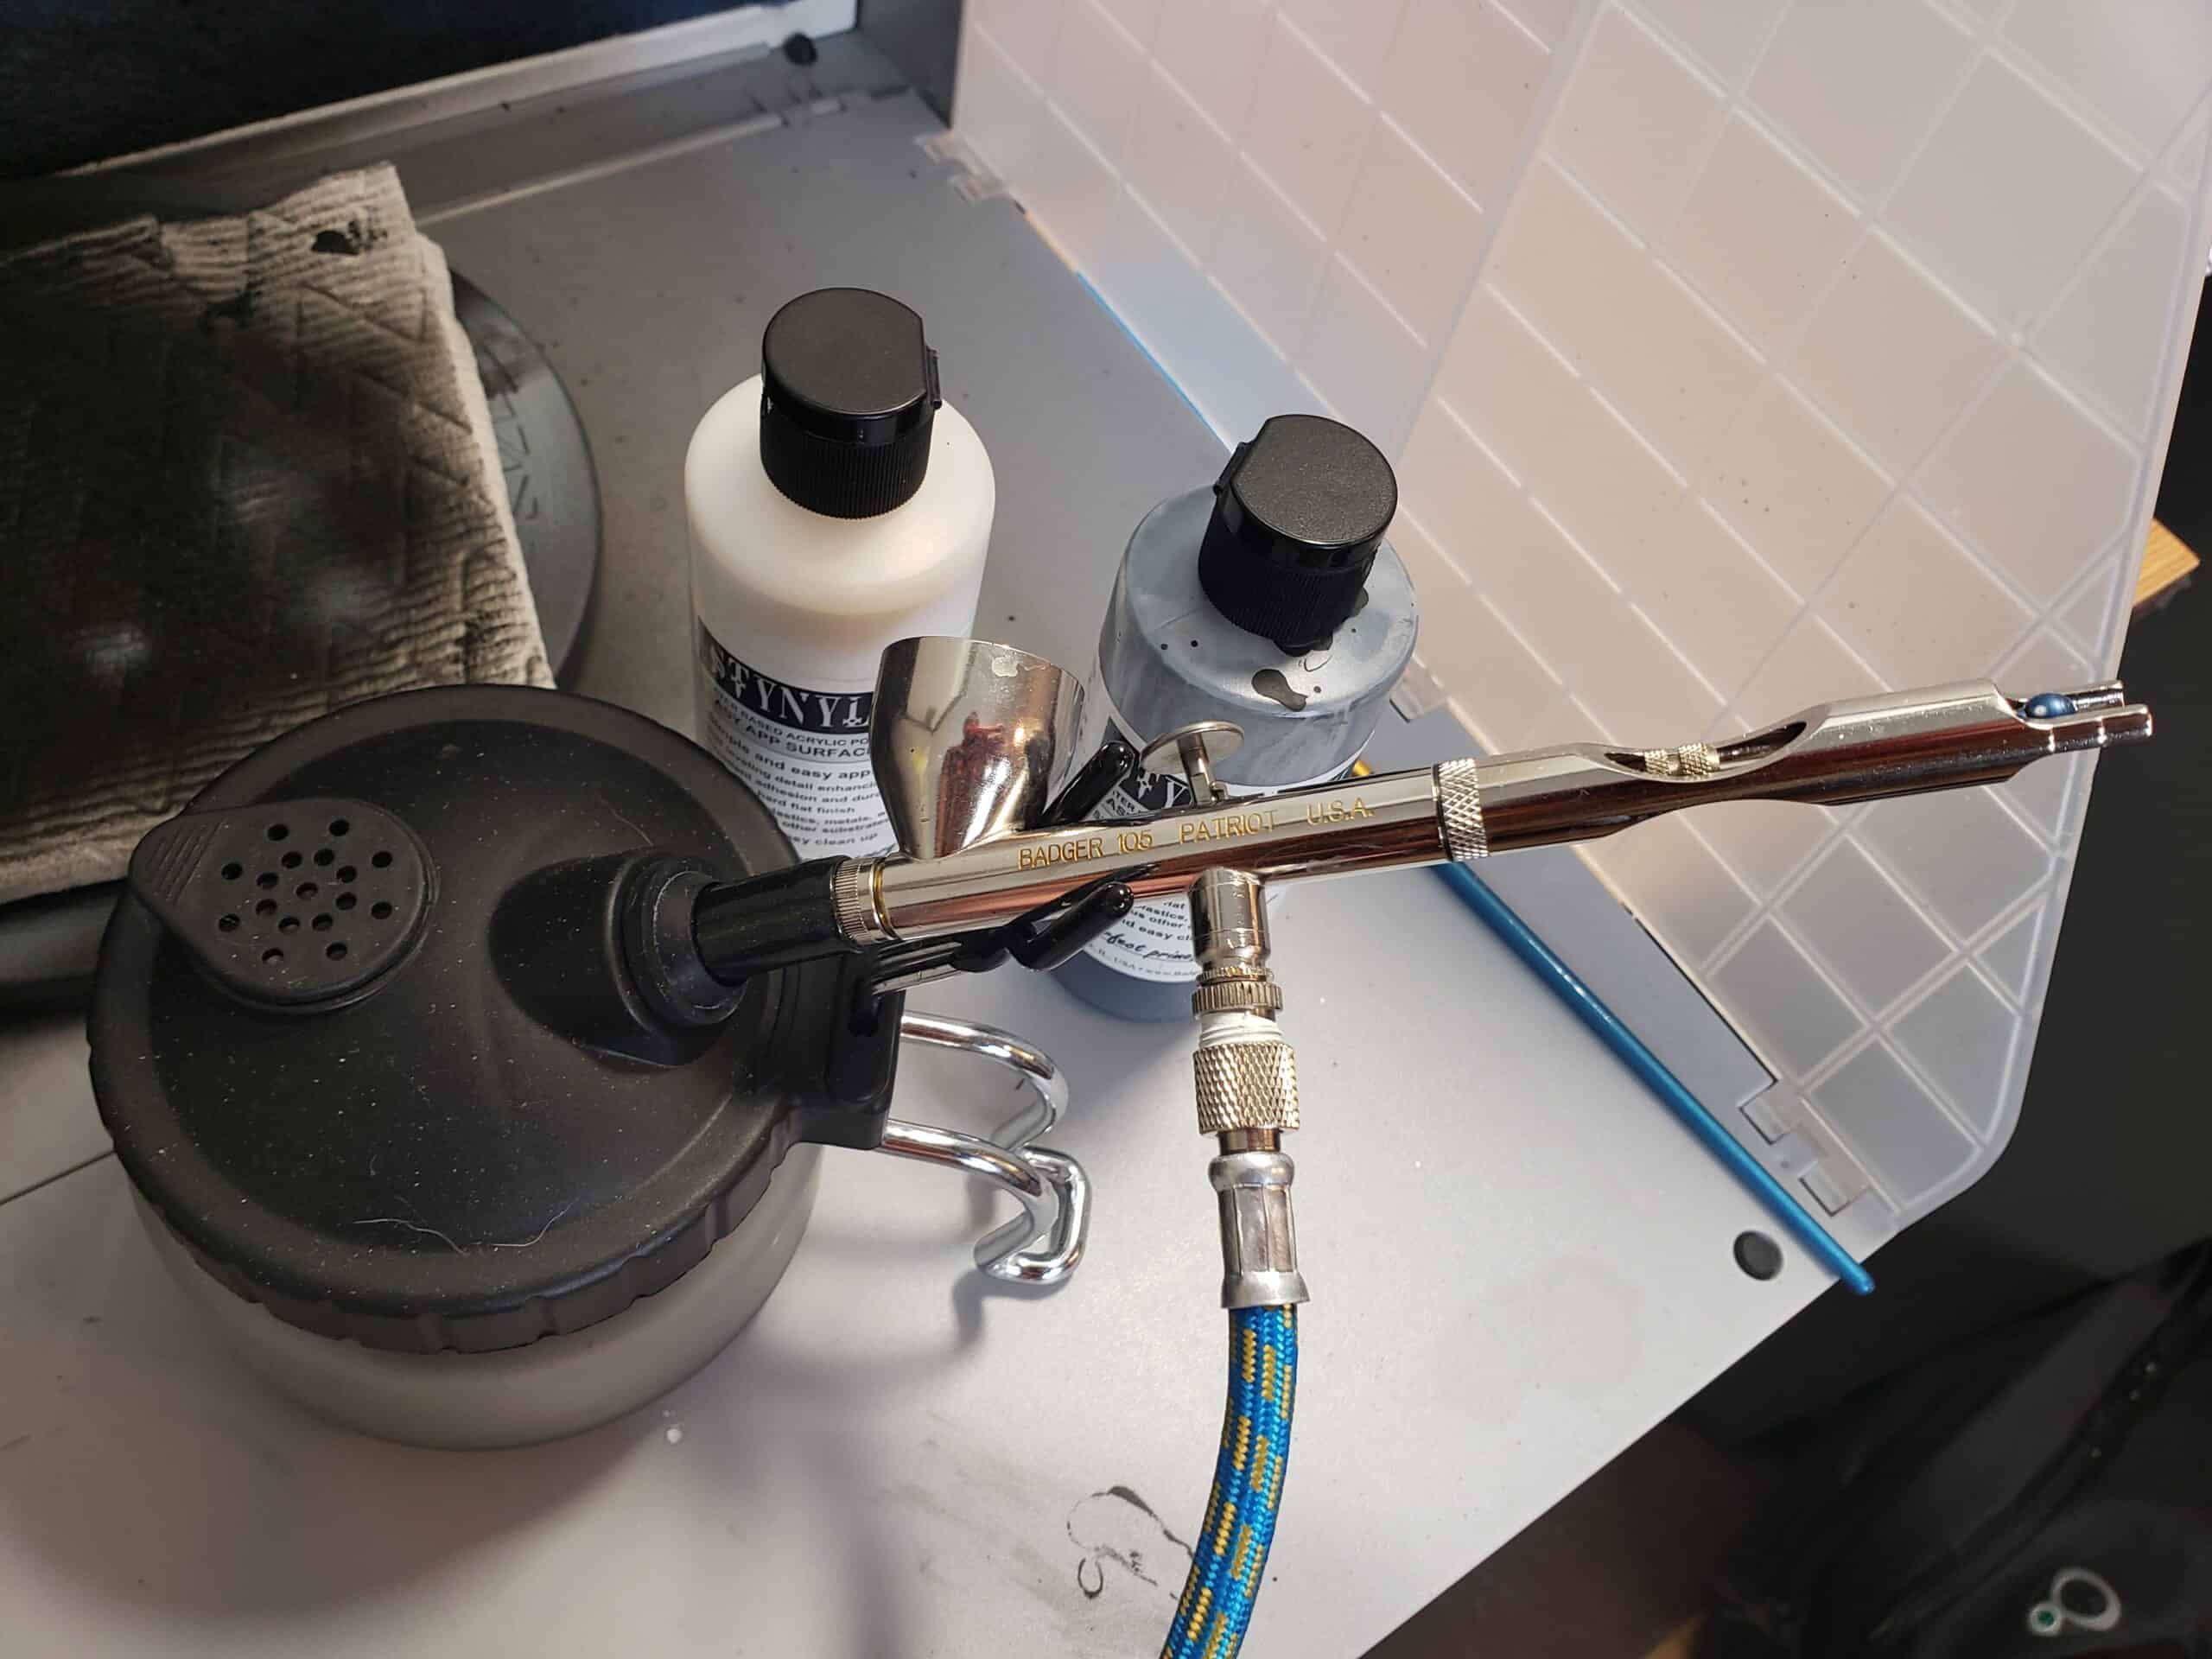
Best Airbrush Primer for 3D Prints: Pro Acryl Primer (Runner Up: Badger Stynylrez Primer)
Key Takeaways
Preparation is Key: For any 3d print you’ll want to put a bit of effort into the finishing process. Get some fine grit sandpaper or sanding sticks, as well as a hobby knife. Remove any stray pieces of resin or PLA. Sand down layer lines on surfaces that need it.
A smooth surface is by far the biggest impact on the final result of your prime result.
Always Prime your Prints: A smooth and even coat of primer on your 3D prints go a very long way to improving the final result. Get a smooth surface, and work on applying a clean layer of primer.
The purpose of a primer is to give your paint a strong foundation to stick to. Paint simply wont stick as well to your Resin, PLA, PTEG, TPU or any other 3D printing material as it will with a primer on it first.
Spray Cans: You’re probably fine with a simple spray can if you’re not doing anything fancy. Once you start looking into more advanced techniques of painting like zenithal priming, you should look into an airbrush or better quality spray can primers.
A quick spray-on primer is likely all you need to get your prints ready to paint. They just require a well ventilated area to spray in.
Spraying is also much faster and smoother than a paint brush. If you’re doing large prints I suggest spray cans or an airbrush.
Brush on and Airbrush Primers: These can both be used either way. Meaning the airbrush primers can be brushed on with a paint brush, and vice versa. They are a liquid just like acrylic paint.
You either put a couple of drops on your paint palette and dip your paint brush in it, or put a few drops in your airbrush and spray.
Best Value Spray Can Primer for 3D Prints:
Rust-Oleum Painters Touch Primer
Rust-Oleum Painter’s Touch 2X Ultra Cover is the first spray can I bough. It’s inexpensive, and will last you quite a long time. It’s known for its quick-drying formula and excellent coverage. I found the coverage to be excellent, but the white is a bit chalky. Very good adhesion to the minis I used it one, which ranged from plastic to resin to pewter.
It really shines on larger projects. Terrain, vehicles, or warhammer armies, you can get a lot done in a short amount of time. If you don’t have an airbrush, i highly recommend spray cans for big projects.
For smaller jobs, and maybe minis you’re really looking to get to display quality, I’d go with either a higher end primer or brush on primers.
Best Premium Spray Can Primer for 3D Prints:
Citadel Spray Primer
Citadel Spray Primer is my number one here. It’s so widely used and highly regarded, I have no problem recommending it. You’ll get great coverage, smooth spray, clean finish and perfect adhesion. Especially with Games Workshop miniatures, but it works on anything.
The only negative is the price you pay for premium primer. It’s not cheap, but remember that it will last you a long time. A single can of Chaos Black, or Grey Seer will get you through a hundred miniatures.
In my opinion that makes it well worth a bit more cost.
Best Overall Brush On Primer for 3D Prints:
Pro Acryl Primer
I love the Pro Acryl primers and I use it personally through the airbrush on all my projects. It’s just as good with a paint brush, giving the same great coverage and adhesion. You’re able to get a nice smooth finish with it.
It’s a thinner primer, and that makes it easier to work with. While you can just thin down other, thicker primers, it’s nice to have it ready to go right out of the bottle.
Applying a primer with a brush gives a smooth finish, although might not be quite as even as a spray can or airbrush.
Best All Purpose Acrylic Primer for 3D Prints:
Vallejo Surface Primer
Vallejo Surface Primer is a tried and true, widely available, high-quality primer. It’s known for its versatility and excellent adhesion.
It’s very popular among modelers, miniature painters, and artists. This primer comes in a wide range colors, making it easier to create a base layer that complements your final paint job.
You can use this on metal, plastic, resin, and other materials you’re working with. It’s a bit thicker, and while that’s great if you need filler to cover imperfections, I personally thin it down so it doesn’t obscure the details in my models.
Best Airbrush Primer for 3D Prints:
Pro Acryl Primer
I love Pro Acryl primer and paint, so this was an easy pick. Excellent consistency, and flows so well out of the airbrush. The coverage is great and I never have issues with it clogging.
I do thin it just a tiny bit, 2 drops of thinner to maybe 10 or 12 drops of primer. Honestly it’s probably not even necessary I just am in the habit of thinning almost anything I put in my airbrush.
The only hesitation I had was that I was using Stynylrez airbrush primer for years and I still love it. That’s why Stynylrez is my close runner up, but the fact is I always reach for my Pro Acryl now.
Runner Up: Badger Stynylrez Primer
I had to include Badger’s Stynylrez Primer in my list. I’ve used it for years and still love it. In fact I’m not sure but I think the Stynylrez black might be just a tiny bit better than Pro Acryls. It’s close.
Stynylrez is very smooth, excellent coverage, and sticks to anything you put it on. It seems to sort of shrink down as it dries, which gives it a nice tight finish. It wont obscure any detail and it gives a perfect primer coat to paint on.
Resin 3D Printed Model Priming
Resin prints give you typically smoother and more detailed results. For that reason I would suggest an aerosol spray primer, or an airbrush. They both adhere well to the model’s surface and don’t tend to clog up details.
Remember to use short bursts and passes on your resin miniatures, parts or models. Hit it from different angles and once it starts to dry, leave it alone. You can always do a second coat of primer.
A brush on primer gives a smooth result as well but you need to be sure to thin it down if needed. Some primers are on the thicker side, and they can fill in details you would prefer not to obscure.
FDM ABS, PTEG or PLA 3D Printed Priming
The biggest issue with FDM printing is the layer lines. Again I suggest you sand the surface before painting and priming. There are also filler primers that are designed to create smoother surfaces to work on.
Filler primers have solids contents in them to fill in minor imperfections, such as scratches, dents, or uneven texture like 3D printed layer lines. From there you can also sand it down to a very smooth surface. Just understand if you’re 3D printing precision dimensions, the filler will alter it slightly.
A great primer helps make the painting part easier,
Brush On vs Spray On Priming your 3D Printed Parts and Miniatures
How to Brush On Primer for 3D Prints
Applying primer to a 3D printed model with a paintbrush can be an effective way to prepare the surface for painting, ensuring better adhesion and a smoother finish. Here’s a step-by-step summary of how to do it:
Materials Needed:
- 3D printed model
- Primer (e.g., Pro Acryl Primer, as mentioned earlier)
- Paintbrush (synthetic brushes with fine bristles work well)
Steps:
- Clean the Model: Before applying primer, ensure that your 3D printed model is clean and free from dust, debris, and any remnants from the printing process. You can gently wash the model with mild soap and water and let it dry completely if needed.
- Choose the Right Brush: A paintbrush with fine, synthetic bristles. A brush with a good tip makes it easier to apply in small areas. I prefer larger brushes, size 4 or larger. This makes the priming go much faster. Since it’s a single color and application, go bigger.
- Shake the Primer: Shake the primer bottle well to make sure the pigment is evenly mixed. This is important for consistent coverage.
- Prepare the Work Area: Work in a well-ventilated space. Acrylic is non toxic but you will smell a bit of paint if you use a lot of it in a small area. Work over something like a hobby mat to catch any stray primer that spills.
- Thin the Primer (if needed): Some primers can be a bit thick. If necessary, you can thin the primer slightly. For acrylics you can use water but for primers dont use too much. I would use a 50/50 mix of water and flow improver. Thinning can help achieve a smoother finish.
- Apply the Primer: Dip the brush into the primer, then lightly drag and twist your paint brush on your palette. Start applying the primer to the model in thin, even coats. Work methodically, short strokes, focusing on one section at a time. Pay special attention to hard-to-reach areas, fine details, and overhangs.
- Allow to Dry: Follow the drying time specified on the primer’s label. It’s crucial to let the primer dry completely before moving on to the next steps.
- Inspect and Repeat (if necessary): After the first coat has dried, inspect the model for any missed spots, uneven coverage, or imperfections. If needed, apply additional thin coats until you achieve a smooth and evenly primed surface.
Now You’re Ready to Continue with Painting! Once the primer is dry and the surface is ready, you can move on to the painting. The primer will provide a solid base for your paint to adhere to, resulting in a more professional-looking finish.
Remember, patience and attention to detail are key when priming a 3D printed model with a paintbrush. Taking the time to prepare the model and apply the primer properly will contribute to the overall quality of your finished piece.
How to Spray Primer on 3D Printed Models (Aerosol Can)
Applying primer to a 3D printed model using a spray can primer is a great way to get good coverage and a smooth surface. Here’s a step-by-step summary of the process:
Materials Needed:
- 3D printed model
- Spray can primer (e.g., Citadel Chaos Black Spray Primer)
- Well-ventilated area or a paint booth
- Gloves, mask and safety goggles
The gloves, mask and goggles are not 100% needed but if you’re doing this indoors make sure it’s really well ventilated. Acrylics are non toxic but you really shouldn’t be inhaling it either. The gloves are more to keep your hands clean than for safety. I use an old covid mask or my respirator.
Steps:
- Clean the Model: Ensure that your 3D printed model is clean and free from dust, debris, and any remnants from the printing process. Gently wash the model with mild soap and water, then let it dry completely.
- Prepare the Work Area: Work in a well-ventilated space or a paint booth to avoid inhaling fumes. Work on a hobby mat or over something you don’t mind getting primer on. If you’re outside just be aware of your surroundings, it might catch some over spray.
- Shake the Spray Can: Shake the primer spray can vigorously for at least a minute to ensure the primer is well-mixed and ready for use. This is the most important step so make sure you shake it well.
- Test Spray: Hold the spray can about 6-8 inches away from the model and do a quick test spray on a scrap surface or cardboard to ensure that the nozzle is working properly and that the primer is coming out smoothly.
- Spray the Primer: Begin spraying the primer on the model using even, sweeping motions. Start from one side of the model and move across, maintaining a consistent distance from the model to ensure even coverage. Overlapping passes slightly can help achieve a uniform coating.
- Apply Thin Coats: It’s better to apply multiple thin coats rather than one thick coat. This helps prevent drips, runs, and uneven drying. Allow each coat to dry according to the drying time specified on the primer’s label before applying the next coat.
- Allow to Dry Thoroughly: After applying the desired number of coats, allow the primer to dry completely. Follow the recommended drying time provided on the spray can. It’s important to be patient and ensure the primer is fully dry before proceeding with painting.
- Inspect and Touch-Ups: Inspect the primed model for any missed spots, uneven coverage, or imperfections. If necessary, do touch-ups with additional thin coats of primer on those areas.
For Airbrushing, check out our full guide here: How to Airbrush
You’re ready to Start Painting! Once the primer is dry and you’re satisfied with the surface, you can move on to whatever painting technique you prefer.
Using a spray can primer provides efficient and even coverage, making it a popular choice when you’re priming and painting 3D printed models.