Zenithal Priming for Miniatures: Spray, Brush and Airbrush
Takeaways
- Zenithal simply means “From above” and a Zenithal Prime is priming a miniature from above, usually in a brighter or contrasting color to achieve highlights and shadows that mimic a light source
- It’s most often done with a black base prime, then a white from above or at a sharp angle.
- This process gives an excellent simulation of how light and shadow play across the features of a miniature.
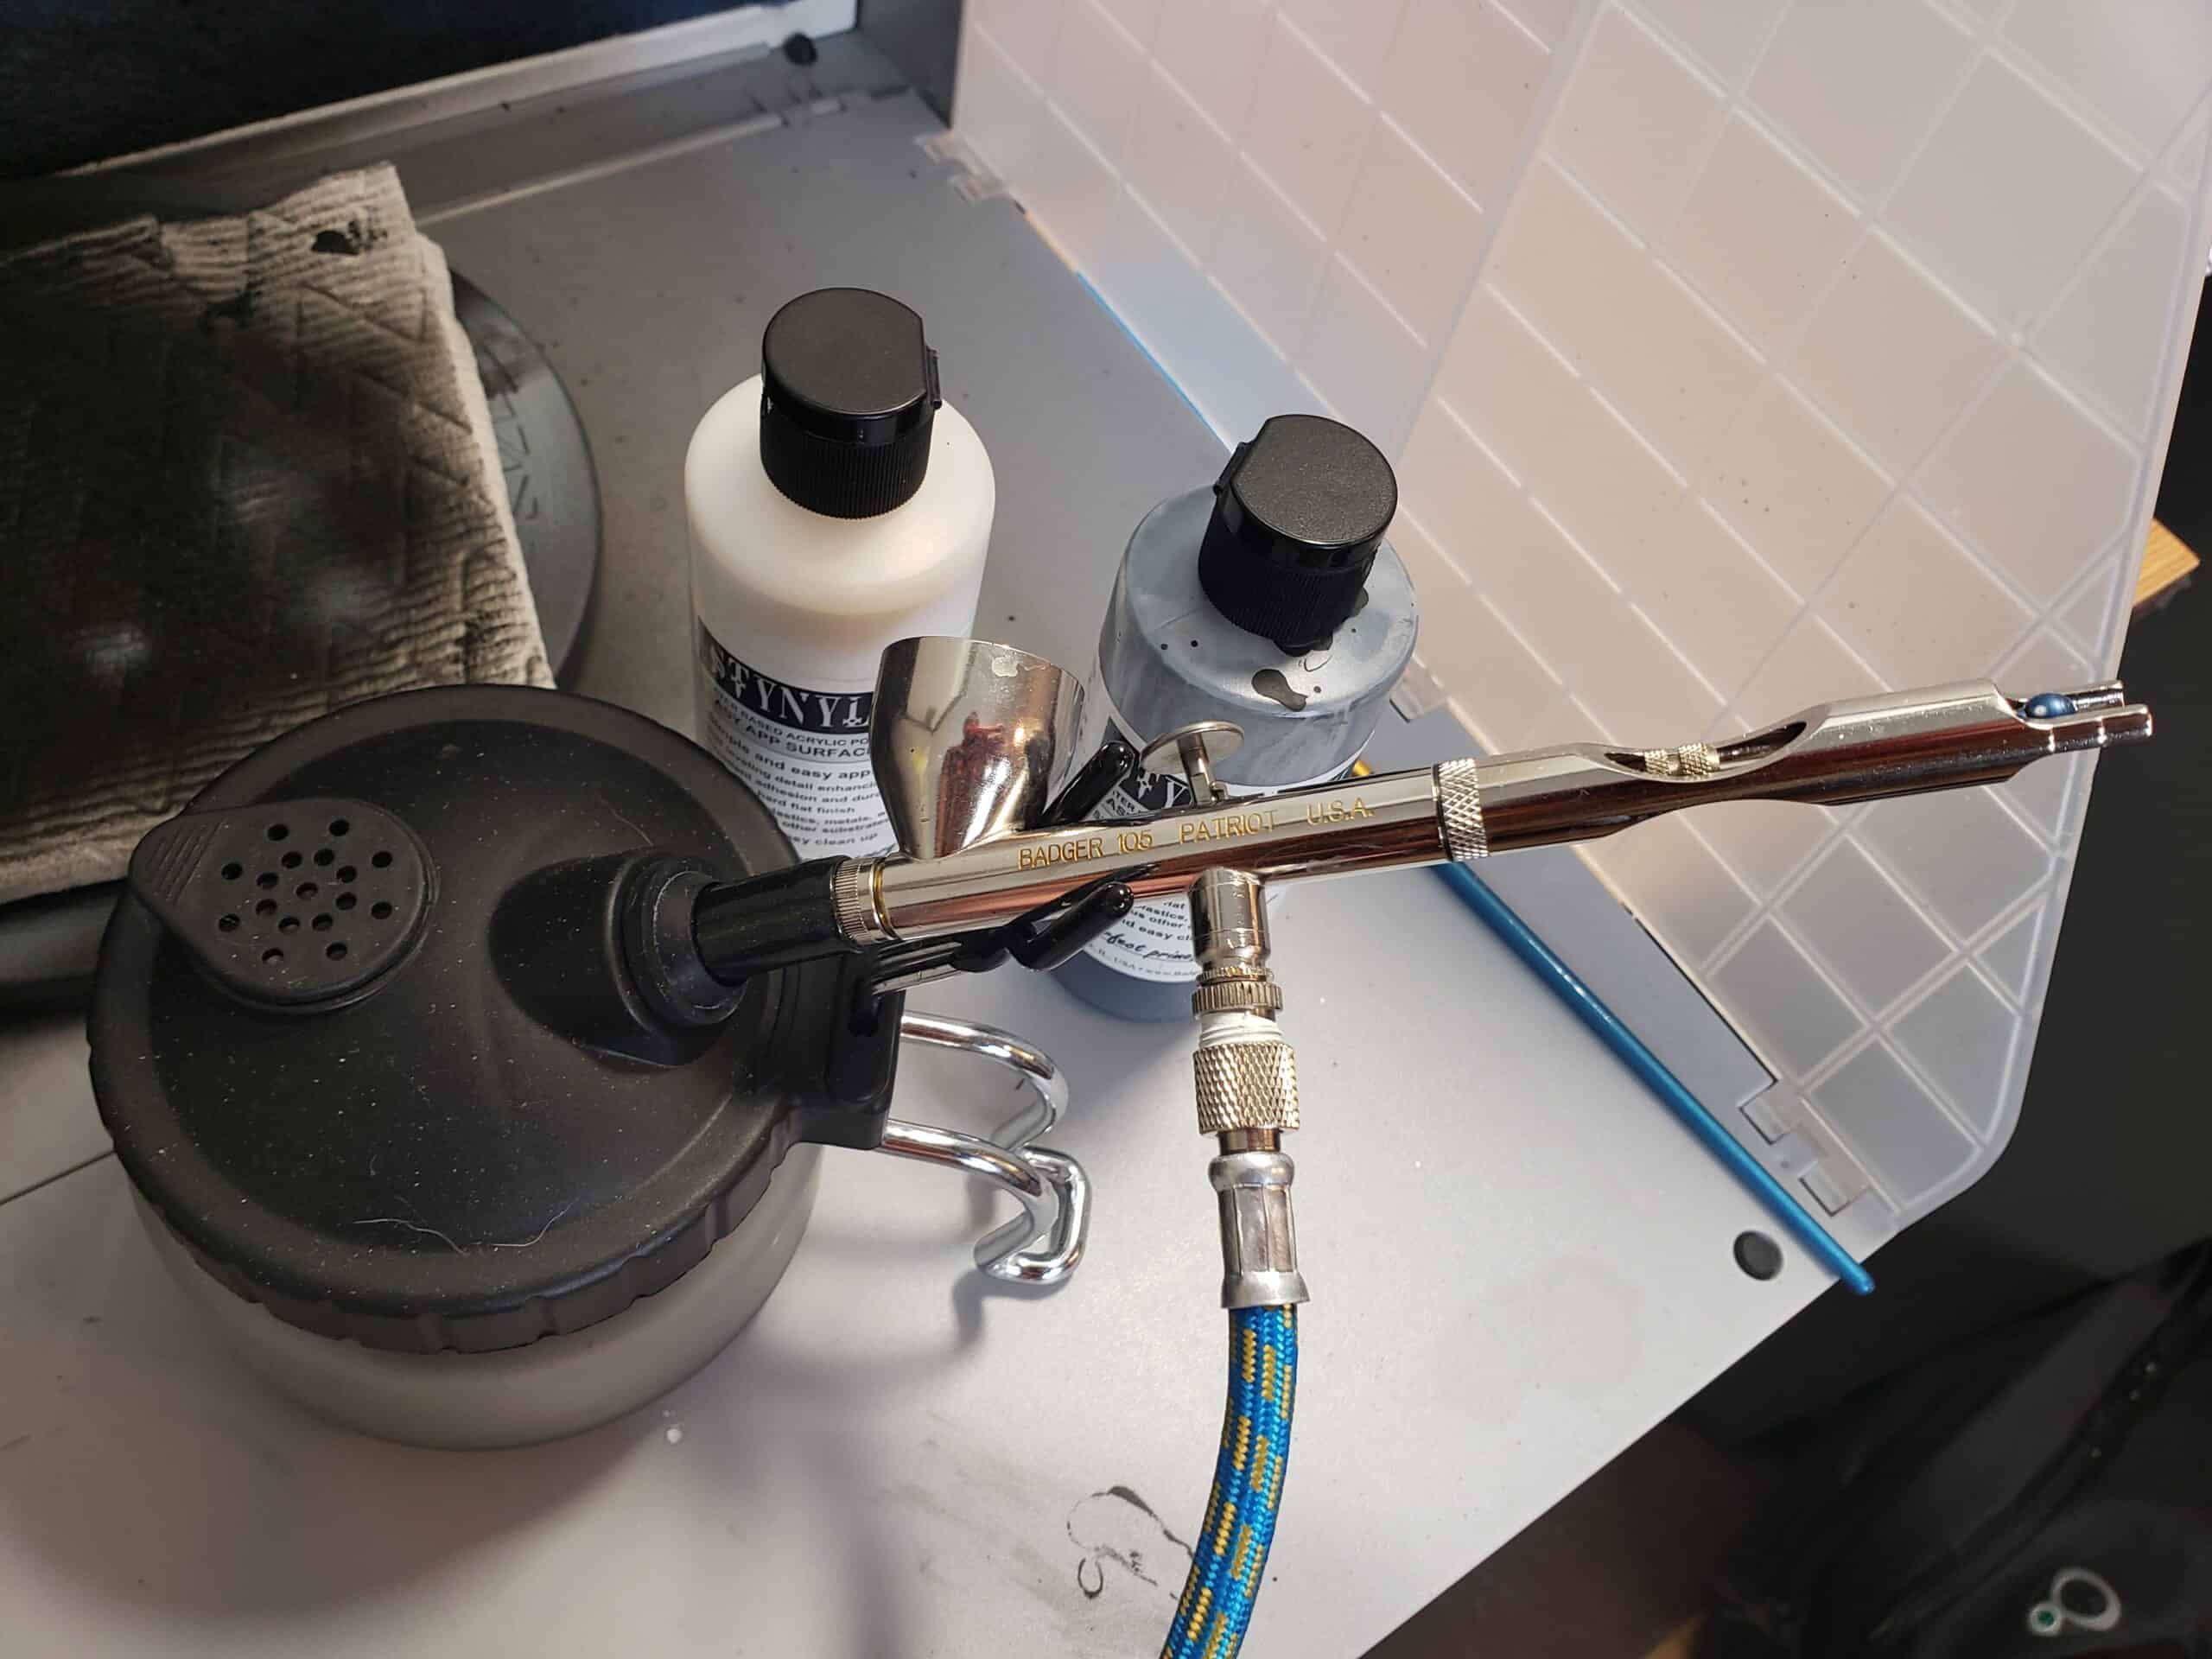
- A Zenithal prime is easily achieved with a spray can primer or airbrush.
I will Cover:
- How to execute a Zenithal Prime with a spray can or airbrush
- How to achieve a Zenithal Prime with a brush
- How to take advantage of the Zenithal prime
How to Zenithal prime your miniatures with an Airbrush or Spray Can Primer
What you’ll need:
- 2 Spray can primers preferably in black and white. Or an Airbrush with some acrylic primers again in 2 colors, ideally black and white.
- A well ventilated location to spray the miniatures.
How to Zenithal Prime Miniatures in Black and White with an Airbrush or Spray Can
A standard zenithal is simply priming a figure in black, allowing it to dry, then lightly spraying white over the top.
Step 1: Clean and prep the miniature so it has no excess plastic or resin.
Step 2: Prime the miniature evenly and smoothly in black acrylic primer
Step 3: Identify your light source. A standard Zenithal is meant to show the light coming from the sun that is directly overhead.
Step 4: Position your spray can or airbrush over the miniature where the sun’s rays are coming from and spray white primer in an arc around the top of the miniature.
The real art to it comes down to a few things: How cleanly and evenly you prime the miniature in general, how much white you spray over the top, and what angle you spray from. Zenithal by definition means from the top or Zenith, but you can alter the angles if you want.
Your airbrush or spray can is acting as the light source. You’re spraying white and that is mimicking light coming from a candle, campfire, flashlight or the sun. Is the figure going to be standing in front of a brightly glowing forge? Hold the Spray can where the light source is and then spray the miniature.
There is no set amount to this, you can go heavy or light on the white primer. If it’s a bright day you’d skew heavier with the white. A dark dank dungeon with torchlight illuminating the miniature is less white.
How to Zenithal prime your miniatures with a brush
What you’ll need:
- Black and White acrylic primer
- A drybrush or makeup brush
How to Zenithal Prime Miniatures in Black and White with a Brush or Drybrush
To achieve a similar Zenithal Prime result with a brush you’ll want to use a Drybrush. There are specialized miniature painting drybrushes or you can use an inexpensive make up brush.
The goal is to get a bit of white primer on your drybrush and gently brush it onto the upper points of your miniature. Things like shoulderpads, the top of the miniatures head, anything facing up should get a bit of white on it.
Step 1: Clean and prep the miniature so it has no excess plastic or resin.
Step 2: Prime the miniature evenly and smoothly in black acrylic primer, you can use any method for this including a standard paint brush.
Step 3: Identify your light source. A standard Zenithal is meant to show the light coming from the sun that is directly overhead. Once primed in black, shut the lights and put your miniature under a lamp or flashlight. You’ll be able to see where light falls naturally.
Step 4: Apply white primer on to the highest points of the miniature with your drybrush. Use a back and forth sweeping motion to achieve this. Apply the white where you saw the highlights when you put the miniature under a light..
How to take advantage of the Zenithal prime
One of the main concepts you’ll come across in miniature painting is contrast. Contrast is simply the difference in color values you can see next to each other. The greatest difference in color value is black and white.
This black and white contrast makes the details in your miniature very easy to see. The idea being you can judge where the light and shadows are and where they meet. From here, you can simply add color.
A thin layer of red paint across a black and white prime will look very different than an all black or all white prime. To increase your contrast even more in the final result, many people use a specialized paint designed to give a light/dark contrast by having the darker pigments run into creases where shadows would fall naturally. These paints have a variety of names depending on manufacturer. Contrast Paints, Speed Paints, XPress Color and more.
One of the more popular painting methods among miniature painters looking for a quick, but good looking result is called Slapchop. It has other names but the methods are all fairly similar. It goes something like this:
Slapchop method of speed painting in a nutshell is:
- Prime in black
- Lightly Zenithal in white or light grey
- Drybrush on pure white at the highest highlights
- Paint with contrast paints
- Add any highlights
The original video on this method is here: