Strip Paint From Miniatures in 3 Quick Steps (Plus Ultrasonic Cleaner advice)
How Do I Strip Paint Off Of Miniatures? Removing paint from miniature, models, plastic or resin is done with the use of solvents, cleaners, soap and water. Acrylic paints are easier to remove. Oils and Enamels are typically more challenging than Acrylics but can be stripped successfully without harming a plastic or resin model.
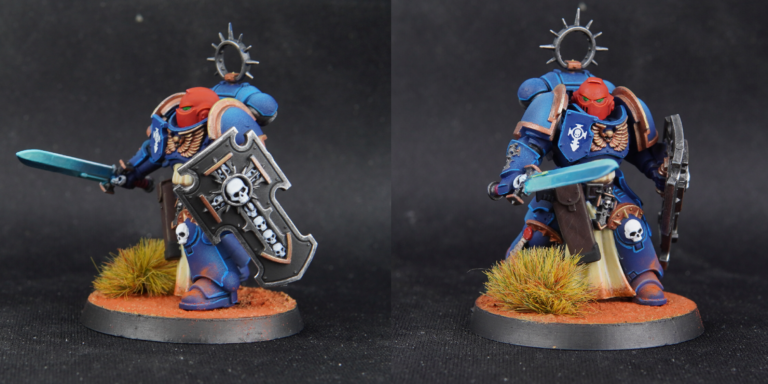
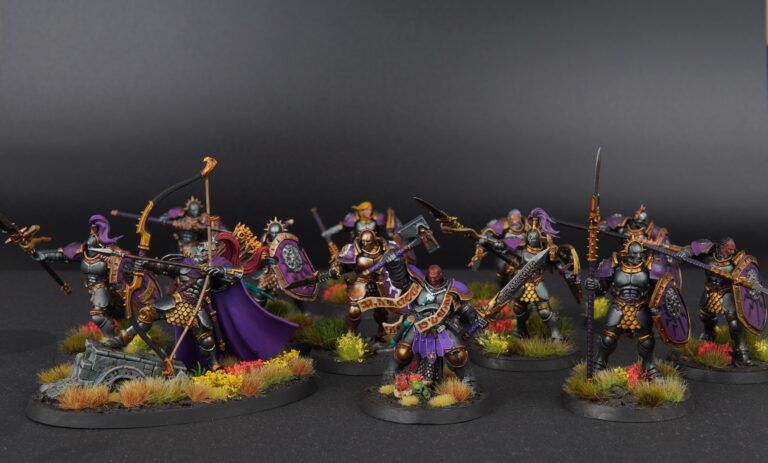
I mostly paint plastic Warhammer models and I’ve stripped a fair few of them. I’ve also had to strip paint from miniatures made of pewter and metal. Lastly, I have stripped the paint job off of 3D printed resin and PLA minis.
The process for all of them is very similar, the difference being that resin is much less sturdy, so go easier on it.
If you are looking to strip resin prints, plastic models or metal minis, either 3D printed or from a manufacturer, I’ll give you my first 3 steps.
We’ll go into advanced steps beneath that:
Strip Paint from Miniatures: Simple 3-Step Process
Step 1: Apply a Paint Stripper or Cleaner
- Choose a suitable paint stripper or cleaner. I recommend simple green or 99% isopropyl alcohol.
- Ensure you’re working in a well-ventilated area and wearing appropriate safety gear, such as gloves and goggles.
- Use a plastic container or Ultrasonic Cleaner and fill with your cleaner. Enough to cover the minis want to strip.
- Put your models in the cleaner and let it sit for a good while. If you used an Ultrasonic cleaner, run it through a cycle and let it sit for 30 minutes.
- For Resin models I would let it sit for 10 minutes at a time and check it.
Step 2: Brush or Wipe Off Paint
- After the print, model or miniature has had some time in the cleaning solution take it out using nitrile gloves for protection.
- Use a soft-bristle brush, old toothbrush, or a cloth to gently scrub the miniature’s surface. This will help loosen the paint that has been softened by the paint stripper.
- Be extra careful with resin miniatures. You don’t want to damage the details or the material.
- I tend to use other tools around the house like Q-tips and toothpicks to get paint out of creases.
Step 3: Repeat as Needed
- Depending on how the first round went, you can adjust as needed. Either more or less time in the cleaner.
- Sometimes the cleaner will only get a single layer off and simply repeating exactly what you did will get results
- You might need to repeat Steps 1 and 2 multiple times until you’ve successfully removed all the paint from the miniature.
It’s a simple but very effective process to remove old paint. Remember that you’re using cleaning products, and isopropyl alcohol is highly flammable. Use safety gloves, cover the container to reduce fumes, and wear a mask if you need to.
Solvents: Simple Green and Isopropyl Alcohol for Paint Stripping
Using Simple Green Cleaner for Paint Stripping
- Description: Simple Green is a popular household cleaner. It’s one of the most commonly recommended solvents for stripping miniatures, and I’ve had luck with it personally.
- Application: To use Simple Green for stripping paint from miniatures:
- Dilute the Simple Green cleaner with water. Typically, a 1:1 mixture with water is what they recommend and that’s what I start with.
- Place the miniatures in a container or ultrasonic cleaner, make sure they are fully submerged.
- Allow the miniatures to soak for a few hours or overnight, depending on the paint and its thickness.
- After soaking, use a soft-bristle brush, toothbrush, or cloth to gently scrub and wipe away the softened paint.
- Repeat the soaking and scrubbing process as needed until the paint is fully removed.
- Advantages: Simple Green is relatively gentle on miniature materials like plastic and resin, which is one of the reasons it’s popular in hobbying. It’s also easy to find and available.
- Considerations: While Simple Green is effective, it might not work as quickly as some stronger specialized paint strippers. Thick or multiple layers of paint might require multiple soaking and scrubbing cycles. You can also cycle between simple green in a container, and isopropyl alcohol in an ultrasonic cleaner.
Using Isopropyl Alcohol for Paint Stripping
- Description: Isopropyl alcohol is a common solvent used for cleaning, disinfecting, and in some cases, paint removal. I use it all the time for cleaning my resin 3D prints. It’s easy to use and not too expensive.
- Application: To use isopropyl alcohol for stripping paint from your plastic mini:
- I prefer 99% isopropyl alcohol, but typically between 90% and 99% is fine. Higher concentrations are more effective.
- Place the miniatures in a container and pour the isopropyl alcohol over them, ensuring they are fully submerged.
- Allow the miniatures to soak for between 10-30 minutes. Check it after 10 minutes and see how it’s doing, return if needed.
- Use a soft brush, toothbrush, or cloth to gently scrub and wipe away the softened paint.
- Repeat the process if needed until the paint is completely removed.
- Advantages: Isopropyl alcohol is easy to find and inexpensive. It has a lot of uses in the miniature painting and 3D printing hobby world, so i always have some available.
- Considerations: Isopropyl alcohol can be harsh on certain miniature materials if you leave it soaking too long, particularly resin. Be sure to use gloves and be aware of any fumes. Isopropyl alcohol is flammable so be careful with it.
Remember, both methods require some trial and error, as the effectiveness can vary depending on the type of paint, the number of layers, and the miniature material. At a minimum use gloves and work in a well ventilated area. If you need to grab an inexpensive respirator mask.
So now that we know the cleaners and basic stripping process, we can move on to my favorite method of getting old miniatures super clean.
Ultrasonic Cleaner Guide: Using Isopropyl Alcohol or Simple Green
Safety Precautions:
- Always wear gloves and consider eye protection if needed.
- Work in a well-ventilated area.
- Keep flammable substances away from open flames.
1. Preparation for the Ultrasonic Cleaner:
a. Choose the cleaning solution you want to use:
- Isopropyl Alcohol: This is my preference with the ultrasonic cleaner. Use at least 90% isopropyl, I like 99%.
- Simple Green: I break this out in my cleaner if the paint is being stubborn and the alcohol doesn’t work..
b. Fill the ultrasonic cleaner:
- Pour your chosen solution into the cleaner’s tank. Ensure you have enough solution to completely submerge the items but don’t overfill.
2. Pre-cleaning (optional but recommended):
a. Give your miniatures a quick rinse in warm soapy water. I like to use a very soft brush on them also.
b. You can dunk them in hot (not boiling, just hot) water right before you put them in the cleaner.
3. Ultrasonic Cleaning:
a. Place the items in the cleaner’s basket or on the platform to ensure they are not touching the bottom of the tank.
b. Turn on the ultrasonic cleaner. If your cleaner has a heater (mine doesn’t), set it to a suitable temperature (usually between 50-60°C / around 100 F).
c. Set the timer. For resin I would check after 10 minutes. If it’s sturdy plastic or metal you can go as high as 30 minutes. Some people run the cleaner and leave it in overnight, I haven’t had to do that personally.
4. Post-cleaning:
a. Rinse models and miniatures thoroughly with warm soapy water.
b. Give it a final rinse with clean water then dry thoroughly. Clean cloth or paper towels are fine for this and then let them air dry
c. If needed, repeat the whole process or spot clean with alcohol and brushes..
Tools for Stripping Paint from Miniatures: Get the Paint off Easily
Safety First
- Nitrile Gloves: Protect hands from chemicals and solvents.
- Eye Protection: Safety goggles to protect you against splashes.
- Well-ventilated Workspace: Essential for using strong chemicals to strip miniatures.
Containers
- Glass or Plastic Containers: For soaking miniatures in stripping solution.
- Small Containers or Trays: Organize miniature parts.
Brushes and Tools for Detailed Cleaning
- Soft-bristle Toothbrush: For gentle scrubbing.
- Stiff-bristle Brush: Be careful with this, but you can get paint off tough areas with them.
- Pipe Cleaners: These can be great to scrub hard to reach places
- Toothpicks: Good old toothpicks are great. Just be gentle if you can, the paint comes off in chunks sometimes.
Application Tools
- Cotton Swabs (Q-tips): Targeted application and cleaning.
- Cloths or Rags: Wipe paint away and clean surfaces.
Alternatives to Stripping Paint from Warhammer, Metal, Resin, 3D Printed Miniatures
Overpainting
Instead of stripping the old paint off, you can paint over the existing layer with a new color. However, this can obscure details on the miniature if too many layers are added. It’s essential to ensure that the surface is clean and free from oils before painting over it. Primer can be applied again over the old paint to provide a better surface for the new paint to adhere to.
If there is too much paint caked on, this isn’t a great option. You can try to remove the paint layer by layer until you reach a good spot. Leave the remaining paint and start over with a fresh primer.
Retouching
Rather than repainting the entire miniature, you can just touch up areas where the paint has chipped or faded. This is especially useful if only small areas need attention. If you just hate the paint scheme and want to change one color, you can simply paint over it for example.
Varnishing or Sealing
If the paint is only slightly faded but still mostly intact, a fresh layer of varnish or sealant can revitalize its appearance. A matte or glossy finish can be chosen based on preference.
Replacement
Sometimes, it’s more time and cost-effective to simply purchase a new, unpainted version of the miniature and start fresh, especially if the miniature in question is easily available and affordable.
Warhammer 40k models aren’t too cheap, but if you can just 3D print a new mini, I’d do that rather than go through the whole process of stripping it.
Thermal Methods for Plastic and Metal Miniatures
This isn’t common and is risky, but some hobbyists use controlled heat to soften and then gently peel away paint. This method is tricky and can damage plastic miniatures, and don’t use this method with resin miniatures. I’ve only tried this with plastic and metal figures.
Sanding or Abrasion
Fine-grit sandpaper or a rotary tool can be used to remove paint, but this method is aggressive and can remove material from the miniature, potentially damaging the details.
Remember to always test what you’re trying to do on either a practice model or in an out of the way spot.
Creating Save Points on miniatures with varnish
If you’re concerned with stripping a model or stripping minis, I would get into the habit of varnishing.
If you can varnish the miniature at different levels, you create a ‘save point’ to go back to. You can use paint remover to get the paint from off the varnish layer and go back to that point.