How to Clean, Prime, Paint and Seal your Resin 3d Prints and Miniatures (Simple Guide)
If you just got a new 3D printer or are considering one, you probably have a big list of things you’re looking to create. Toys for the kids (or yourself!), figurines to display, miniatures for your D&D game, a cool Star Wars Mandalorian statue or X-Wing model.
Once they’re printed, you’ll have a grey resin (or plastic) figurine, mini or model. Typically they’ll need to be painted. I’m going to walk you through the steps to get a great result on your prints with no previous experience needed.
You’ll know how to clean and prep your prints, how to prime them, paint them, and seal them to keep it protected and looking good.
I’ll break it down into 4 sections for you:
- Clean and Prep: This is clipping, sanding, and generally cleaning up your prints.
- Priming: A simple prime with spray primers, airbrushes or paint brush
- Base Coats and Painting: You’ll be painting with either a paint brush, air brush, or spray paints.
- Sealing and Varnishing: This can also be done with paint brush, air brush or spray cans.
I will assume you have a great 3D printer, but no painting gear yet, and give you a baseline to start from.
Everything You Need to Paint Your Resin 3D Prints and Figures
Let’s start with a quick list of items you’re going to need. I’ll try to give a range of options:
Clippers and a Hobby Knife: Here I recommend a simple hobby kit, or something a bit more extensive. It’s a great starting point to have the tools available.
Sandpaper or Sanding Sticks: While the kits do come with files, picking up some inexpensive sanding sticks is really worth it. They work great on hard to reach areas.
Acrylic Primer, Paints and Varnish: My top primer recommendation is Stynylrez acrylic primer which is for the airbrush or brush. If you prefer spray can primers I would go with: Citadel Chaos Black or Rustoleum 2X Flat Black..
For the best paint sets, my overall top pick is the Pro Acryl Base Set, but for something smaller try the best value: Vallejo Basic Set.
Varnish I love AK Interactive Ultra Matte, which can be brushed on or airbrushed. For spray can varnish I have had luck with Army Painter’s Anti Shine Matte Spray.
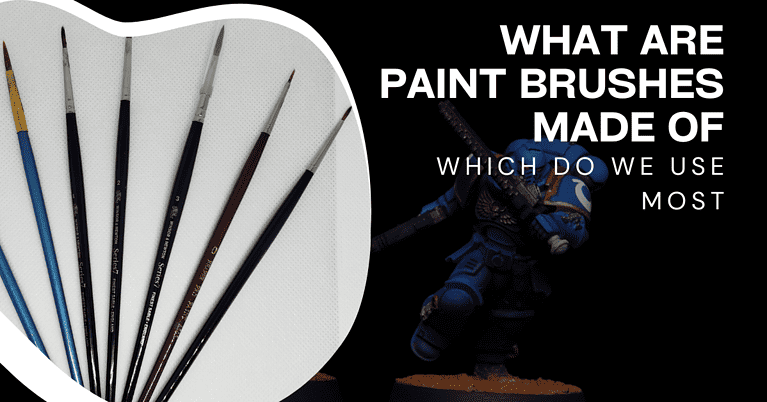
Paint Brush or Airbrush or Both: You can start with a very inexpensive set of synthetic paint brushes. One very nice paint brush is great if you’re looking to step up your game. An airbrush is super helpful if you’re going to be making this a hobby, but it’s not necessary for just a one off project.
So now you have your 3D resin printed miniature, figure, or whatever object you want to paint. You have a paint brush, some paint, primer and sealer. Plus a few tools and sanding sticks. Let’s begin.
Cleaning and Preparing your 3D Resin and Plastic Prints
Clean up and prep comes down to making your prints as smooth as possible. It might be hard to see it when it’s all grey resin or plastic, but any imperfections will show up once you paint it.
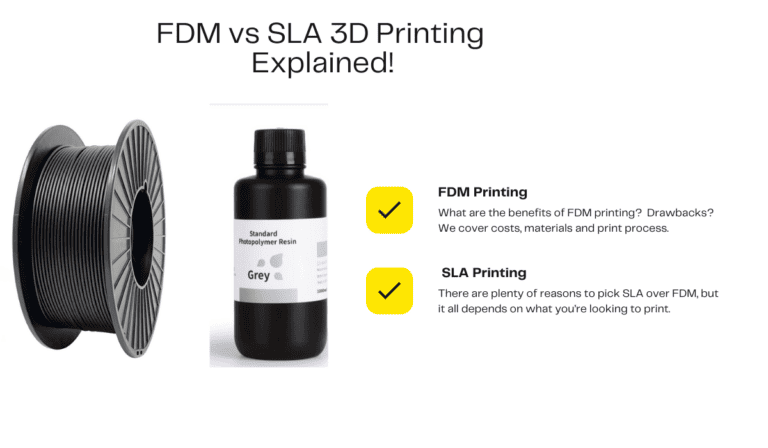
Resin 3D prints have less obvious layer lines than FDM prints, but if you removed any supports, or you see any imperfections, now is the time to address them.
Many resin miniature from manufacturers will also have these bits of resin that need to be removed and sanded.
It’s worth taking the time now to trim off any large pieces with your hobby knife or clippers. Then use your sanding sticks, files or sandpaper to make all the surfaces as smooth as possible.
Priming your 3D Resin and Plastic Prints
Once your print is smooth, you’re ready to prime. Priming resin is an especially important step before applying any paint. Primers are designed to give the next layers you apply something to stick to.
Fortunately priming is very easy to do. You have 3 options here: A spray can primer, using your paint brush to apply it, or an airbrush can apply it.
The final choice is color. When in doubt I tend to choose black. Black will give you that sense of a shadow if you miss any spots and it’s a good baseline. If you’re using a primer and painting a bright color, like yellow or bright green, you might opt for a neutral gray or white.
I’ll go through each application method for you to make a better decision:
Spray Can Primer: Very commonly used, you simply spray the figure in short, quick strokes. You’ll hold the nozzle around 6 inches from the figure, and do light sprays across it. It’s helpful to be able to hit the figure from different angles so you can ensure it all gets covered.
If you see any spots you missed after it dries, simply spray over it.
You’ll want to do this in a well ventilated area, and be aware the over spray will get on anything in the area. Many people spray outdoors or in their garage for this reason. You can also use a cardboard box to catch any over spray if you’re worried about it.
Brush on Primer: Simply squeeze out a bit of primer onto a palette or paper plate, whatever you have available. Dip your brush in it, and apply to the 3D print.
The trick here is to not over load your paint brush. Get a bit on and drag it across the palette it’s on, you don’t want big thick globs of primer on the brush.
Work in quick short strokes, and try for a nice even application. Not too thick.
Airbrush Primer: If you have access to an airbrush or want to get one as part of your hobby set up, it’s the perfect way to prime. I use my airbrush for all my priming.
Simply pour a bit into your airbrush cup, and spray your figure just like you would with a spray can. Short bursts, around 6 inches from the model, and spray in strokes across the surface.
Remember again to change angles and make sure you get primer on the whole model.
Base Coating and Painting Resin 3D Prints and Miniatures
This is the most time consuming part. The good news is you can get a good result in not too much time, and I’ll give you additional steps to improve your basic paint job.
The most commonly used high quality paints include Vallejo, Pro Acryl, Citadel and Army Painter. I’ll summarize my choices for the best options for you:
- Best Overall Paint Set: Pro Acryl Base Set
- Best Value Paint Set: Vallejo Basic Set
- Best Large Paint Set: Army Painter Mega Set
Just be sure to use high quality paints if you’re looking for the best result on detailed prints. Alternatively, craft paints are totally fine for simple 3D printed models. The type of paint matters more with highly detailed 3D models, figures or miniatures.
Once you have your print sanded, prepped and primed, we’re ready to paint. Let’s break the painting down into steps:
How to paint Resin 3D Prints: 5 Easy Steps to Start
- Get your work space ready: Gather any paints you need, a paint brush, a cup of water, and something to use as a palette.
- Decide where to start: The best advice here is to try to work inside out, or pick the largest color sections. If you are working on 3D print miniatures and one has a shirt on, covered by a coat, paint the shirt first. It’s inside the coat and it’s easier to start on inside details.
- Load your paint brush: Place a couple of drops of acrylic paint on your palette. Dip your paint brush in your cup of water. Dab the brush a bit on a paper towel to get out the excess water. Dip the tip of your paint brush in the paint and then twist and drag the tip across the palette to get off any extra paint.
- Apply the first color paint to your 3D print: Once you’ve loaded the paint on your brush, apply it to your 3D print in smooth even strokes. I suggest working section by section. Focus on smooth and quick rather than overly deliberate. Once the paint starts drying you don’t want to disturb it, which is why it’s best to work in sections.
- Apply the next paint color to your 3D print: After you’re done with the first color, simply rinse your paint brush in the cup of water. Dry it a bit on the paper towel, and start the process again with the next color.
- Repeat step 5 until you have the resin print fully base coated.
You can stop here or take a few extra steps to get your print to another level of detail.
How to take your Resin 3D print paint job to the next level: 3 steps
In miniature painting, one of the biggest impacts you can make is to improve the contrast of your miniature. When you paint 3D printed minis, if you’re looking for a quick way to make it look less “flat”, try these 3 steps. You can do any or all of them to improve the look:
- Apply a wash: A wash is a special type of paint with very thin consistency. It is designed to flow easily into the cracks and recesses of what you are applying it to. You use a wash after you have your basecoat completed. The process goes like this:
- Load your paint brush with a good amount of wash and apply over the surface of your print.
- Avoid large pools of wash that tend to gather at the seems. You can simply clean your paint brush, dab it on paper towel, then touch the tip to the pool of wash to soak it up.
- Allow the wash to dry. Once it starts drying you don’t want to disturb it until it’s fully dry. If you do it will leave stains and tide marks that don’t look great.
- Apply highlights: Highlights are simply a shade or two lighter than whatever color your base coat is. So if you are highlighting red, use a lighter shade of red, or perhaps even orange. Generally the higher sections are brighter than lower, it’s where the light hits most. Many times painters will use “edge highlighting”, which is simply picking out the high edges of your model and adding the brighter shade to them. You can do this with your paint brush or use a process called dry brushing.
- Pin Washing / Panel Lining: This is the technique of adding a dark paint to the deepest recesses of a miniature or model. When you have a seem, crease, or line in your miniature, adding in black or a dark color will give a better sense of shadow, add separation and make your print more readable.
Sealing and Varnishing 3D Resin Prints and Miniatures
OK so you’re done painting and it looks great! Now we need to protect it. Don’t worry, sealing it up is very simple. You’re just applying a clear coat of varnish over it.
Varnishing will help prevent paint from peeling off, or any staining to form on it.
There are a few important things to know. The first is which finish you want. I’ll summarize them here:
- Matte varnish – Matte is my personal favorite and it’s what I use most often. It will even out reflections and keeps contrast and color saturation of the paint job. Matte is generally recommended as the best finish for miniatures, and I agree with that consensus.
- Satin varnish – Slightly more sheen than matte but not completely glossy. Can help smaller miniatures stand out a bit more on the tabletop. I will sometimes mix in a bit of satin to my matte varnish for an “in between” look.
- Gloss varnish – A smooth, reflective finish. Generally not recommended as a final finish for miniatures as it can reduce detail and contrast. Some painters use a gloss coat first to prevent “frosting” before applying a matte varnish. I only use this when I am going to apply an oil wash to my miniatures, and even then it’s very rare for me to do. The gloss helps the washes run into the creases cleanly because there’s less friction on the smoother finish.
The two types of varnishes you can use are Water based and lacquers:
- Water-based varnishes – Cheaper alternative to spray lacquer varnishes but less durable. This is what I’d go with. I have an airbrush and it’s fantastic for this purpose, but you can also just use a paint brush to apply it.
- Spray lacquer varnishes – Most durable varnish option but requires proper technique to prevent “frosting”. Matte lacquer sprays like Testors Dullcote are most commonly recommended. I personally do not use these.
The process of varnishing depends on how you’re applying it: Spray can, airbrush or paint brush.
Before applying your first coat of varnish, it is highly recommended you try it on a test print or miniature. You want to see the results before you commit to using it on your finished paint job.
Spray Can Varnish:
- Shake your spray can thoroughly. At least one full minute.
- Find a well ventilated area that is not too humid or cold.
- Spray from 6-10 inches away, in short bursts of thin coats across the surface of the print.
- Change angles of your spray by turning the miniature or print to make sure you get all of it covered.
- Once done allow it to fully dry before touching it.
- If you missed anything or would like second coats, you can do that after it’s fully dry.
Airbrush Method:
- Add 5 drops of varnish to 2 drops of airbrush thinner to your paint cup
- Spray from 6-10 inches away in short even bursts across the surface of your print
- Make sure to change angles to cover all areas of the print.
- Allow the varnish to dry before adding a second coat if desired.
Paint Brush Method
- 3 drops of varnish on your palette and mix in one brush full of water (dip your brush in a cup of water and use the wet brush to mix the varnish)
- Apply the varnish in quick even strokes across the miniature.
- Be sure to get the entire miniature or print covered.
- Once finished, allow to dry fully before applying more coats.
Final thoughts
Resin 3D printers are becoming more common, easier to use and less expensive. There are tons of things to print and create on them, and the popularity is growing.
Once you print them though, you typically will want to paint your 3D prints. As someone who has been painting miniatures for years, I have a lot of experience painting pla , hard plastic, resin, and pewter figures.
Hopefully this guide has showed you how easy it is to prime and paint 3D printed items.