Cleaning Your Airbrush – The 3 Best Ways I’ve Found To Keep It Running Clean
Once you find the best airbrush for miniature painting or whatever you’re doing with it, you’ll need to maintain it. Keeping the airbrush clean will allow for better precision and a longer life for your airbrush. I wanted to get into how to do this properly, so here we go…
Key Takeaways from this article:
There are three kinds of cleaning I do for all of my airbrushes: Changing paint colors, Done working for the day and Deep cleaning.
Changing Colors can be as simple as using some water and a wipe or paper towel. The right tools make this very quick and easy.
Done for the Day typically involves airbrush cleaning fluid and a more thorough cleaning than just changing a paint color.
Deep Cleaning your airbrush involves disassembling and cleaning each part individually. I use wipes, and a sonic cleaner.
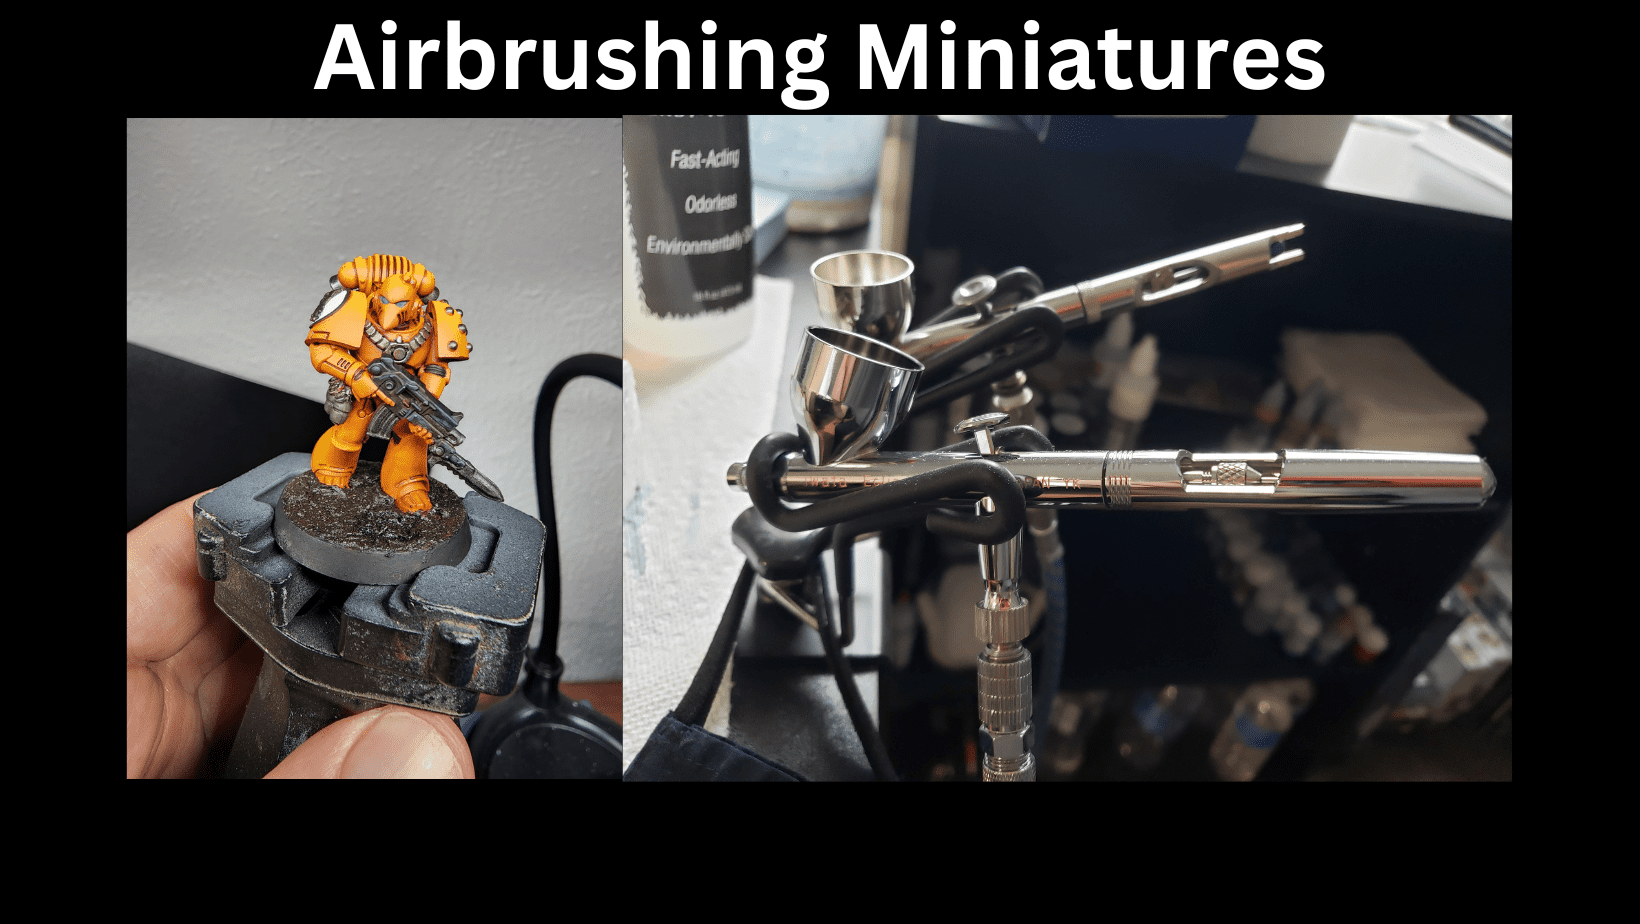
The tools I use to clean my airbrush are:
Airbrush cleaning fluid, water, squeeze bottles for the water, a 5 gallon bucket to dump used paint and water into, an airbrush cleaning pot, a set of airbrush cleaning tools like pipe cleaners, a sonic cleaner, isopropyl alcohol, paper towels and baby wipes.
With that all set, let’s get into the differences between just changing colors, being done with your airbrush session, and a deep cleaning.
How do you clean your Airbrush when Changing Paint Colors?
This is the most common type of cleaning you will do. Changing a paint color, or after priming, varnishing, or anything else, you want to give your airbrush a quick clean.
Tools Used: Water, water squeeze bottle, 2-5 gallon bucket, airbrush cleaning pot, baby wipes.
The quick take here is you’ll fill your squeeze bottle with water, and use it to wash out the airbrush paint cup. Fill the cup, dump it in the bucket.
You should also backfill the airbrush, which is simply covering the tip (be careful of the needle) and forcing air through the airbrush. Covering the tip forces air back into the paint cup, which will bubble up when filled with water. It’s very effective at cleaning the insides.
Next I like to do a quick cleaning of the paint cup with a baby wipe. Lastly I’ll fill the paint cup with some water, and spray it into my airbrush cleaning pot. So start to finish it looks like this:
How to Clean an Airbrush when Changing Paint Colors in 5 Steps
- Use a squeeze bottle full of water to flush out the paint cup.
- Dump any used paint and water into your 3 gallon bucket.
- Backfill your airbrush by adding water, covering the tip, forcing air back into the paint cup.
- Use a baby wipe to give the inside of the paint cup and the needle tip a quick clean.
- Fill paint cup with water and spray into an airbrush cleaning pot.
With those 5 quick steps you’re ready for your next paint color.
How to Clean an Airbrush when Done Airbrushing for the Day?
For this stage I go a bit further than the above color change process. You can start as above with the water squeeze bottle, backflowing, and wipe the paint cup.
Following that, I will pull out the needle and wipe that down with a baby wipe or paper towel that has airbrush cleaning fluid on it. After a quick clean I’ll put the needle back in.
For my airbrushes and any I’ve personally used, loosening the needle chucking nut is very simple and you can then pull the needle out. Give a wipe, put it back and tighten the needle chucking nut again. Easy to do.
Finally, I’ll fill the paint cup with airbrush cleaning fluid and spray it into my airbrush cleaning pot.
How to Clean an Airbrush when You Are Done for the Day in 9 Steps
- Use a squeeze bottle full of water to flush out the paint cup.
- Dump any used paint and water into your 3 gallon bucket.
- Backfill your airbrush by adding water, covering the tip with a nozzle cap or paper towel, forcing air back into the paint cup.
- Use a baby wipe to give the inside of the paint cup and the needle tip a quick clean.
- Fill paint cup with water and spray into an airbrush cleaning pot.
- Loosen needle chucking nut and remove needle carefully
- Wipe the needle with a baby wipe or paper towel with airbrush cleaning fluid on it.
- Replace needle, tighten needle chucking nut.
- Fill paint cup with airbrush cleaning fluid and spray into airbrush cleaning pot.
This is something that you can do when you’re done for the day or honestly, once or twice a week. It’s going to make the airbrush last longer and run smoother in general.
Thoroughly Deep Cleaning your Airbrush
A good deep clean requires you to disassemble the airbrush. It’s not terribly difficult but sometimes you can get a little hesitant to mess with it.
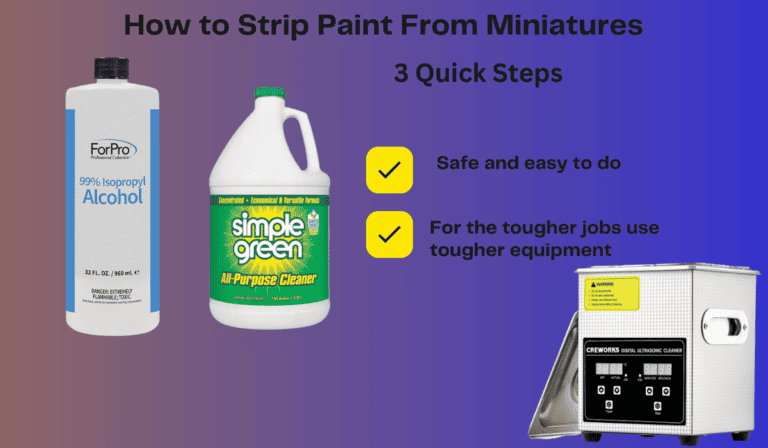
I like to use my sonic cleaner for this, and I fill it with isopropyl alcohol. You can also use some windex, airbrush cleaner, or simply green and cut any of them with some warm water.
A sonic cleaner isn’t required but it’s very helpful. I would start with a typical cleaning process like the above steps for color changing or done for the day. Then disassemble the airbrush, place the parts in your cleaner and let it go.
Once that is done you will reassemble the airbrush.
I personally take the extra step of using Badger Needle Juice in the trigger and paint cup. 2-3 drops, let it sit, reassemble. Then connect your hose, turn on the compressor, and blow out any excess oil.
That step isn’t really needed each time but I’ll do it now and again.
How to Deep Clean an Airbrush in 11 Easy Steps
- Use a squeeze bottle full of water to flush out the paint cup.
- Dump any used paint and water into your 3 gallon bucket.
- Backfill your airbrush by adding water, covering the tip with a nozzle cap or paper towel, forcing air back into the paint cup.
- Use a baby wipe to give the inside of the paint cup and the needle tip a quick clean.
- Fill paint cup with water and spray into an airbrush cleaning pot.
- Fully disassemble your airbrush and place components into a sonic cleaner, alternatively clean each part manually with window cleaner, rubbing alcohol or other safe cleaner.
- Remove from sonic cleaner and allow time for it to dry.
- Reassemble airbrush, but leave the trigger, needle and needle chucking nut off if you want to lubricate it.
- Lubricate with Badger Needle Juice or similar product by adding 2-3 drops in the paint cup and 2-3 drops in the trigger assembly.
- Reinstall trigger and needle as normal, and work the needle and trigger back and forth to fully lubricate.
- Attach your hose to the now fully assembled airbrush. Turn on compressor and blow air through to get the excess lubricant out.
Other than rubbing alcohol/isopropyl alcohol, feel free to use some warm water and mild soap or detergent. Especially if you are working primarily with acrylics, that should be enough to get the job done.
How Often Should I Deep Clean My Airbrush?
The quick answer to how often to deep clean your airbrush is: As needed, or once a month. Whichever comes first.
For reference I use my airbrush 15-20 times a month. For me, once a month is a good pace to do a deep clean. If I notice my airbrush is starting to clog frequently, or not spray evenly, I’ll go ahead and do a full cleaning.
If I do notice some uneven spray, I’ll pay special attention to the airbrush nozzle. If I notice more clogging, I’ll focus on an all over cleaning.
The other piece of advice I would give is to get a sense of how long you personally can go without a deep clean. If it’s only a week or two, then set up a schedule to do a deep clean every week.
If you’re doing a good job of cleaning your airbrush after using it, a deep clean shouldn’t have to be done very often.
Airbrush Backflowing Explained
I wanted to get a quick how to in here on backflowing the airbrush since I do it so often.
Again it’s as simple as covering the nozzle cap so air can not get out the front of the airbrush. This forces air back into the paint cup. That causes the water or cleaning solution to bubble up and loosen any paint inside.
With some airbrushes, specifically my Iwata HPCS, they have a built in nozzle cap that allows you to just put your finger over it to stop air without the needle being able to stick you. On my Badger, I have to use a needle cap.
A needle cap is simply that, a cap that goes over the needle and stops airflow. The Badger Patriot 105 comes with a black plastic needle cap just for this purpose.
If you don’t have a needle cap, just use wadded up paper towel or a baby wipe. please just be careful not to poke your finger or bend the needle tip!
It’s worth noting you can get an assortment of needle cap sizes for under $10 if you want a new one.
I hope this helps! If you have any questions, please feel free to ask below.