Why Is My Airbrush Not Working? Avoid Clogs, Spitting, Sputtering when Airbrushing Miniatures
The TTD Guide to Avoiding Airbrush Issues – Simple Tips to Keep Things Moving
List of Airbrush Troubleshooting Options:
- Cleaning Needle Tip: Simply use a paper towel or I prefer baby wipes, to clean off the tip of your needle. Paint can dry on it and obscure airflow and paint.
- Fully Remove and Clean the Needle: Most airbrushes have a needle chuck you can loosen and slide the needle out. Again for this I’ll use baby wipes or paper towel with a bit of cleaner or isopropyl alcohol.
- Clean Nozzle: Unscrew the nozzle cap and use a cleaning tool to gently scrub the nozzle hole.
- Replace Nozzle: They can crack or bend and cause a problem with either air and paint leaking or the spray pattern is off.
- Tighten the Head Assembly: The front of the airbrush where the spray comes out, just be sure it’s snug, not over tightened.
- Check the Trigger: Triggers need to be lined up correctly and can be a little challenging to get back together. It should move up and down, back and forth easily.
- Nozzle Gasket: The screw on nozzles sometimes have a rubber gasket to give it a good seal. Make sure it’s in good shape.
- Rubber O Ring in the Trigger Assembly: Many airbrushes have this and I’ve had it happen that mine was out of place.
- Needle Bearing replacement: Most airbrush companies will sell a needle bearing replacement kit if you feel yours needs to be swapped out.
- Replace Bent Needle: Very thin needles with sharp tips can easily bend if they accidentally strike something hard. When that happens a replacement is your best bet. Simply swap out the old with the new.
- Replacing Air Hose: In the case of large leaks you can replace the hose from the airbrush to the compressor.
- Bee’s Wax, Teflon Tape and other Sealers: For fittings that are not holding a seal on the hose.
- Full Disassembly And Cleaning: Taking the airbrush apart and cleaning it with cleaning tools or a sonic cleaner or other methods.
Troubleshooting Common Airbrush Issues
I’m going to go ahead and compile a list of the typical complaints I see for airbrushing, as well as the things that happen to me. I’ll give you solutions that I personally use with my airbrushes and some tips I’ve picked up from others.
The most common issues that occur with Airbrushing include:
Airbrush won’t spray paint / Airbrush is clogged
Clogs are definitely a common occurrence. Even my favorite airbrushes will clog from time to time. Airbrushes with smaller nozzles tend to clog more often due to the smaller diameter.
Causes of a clogged airbrush include:
- Paint is too thick and won’t flow through easily
- Paint dried on the needle tip or inside the airbrush
- Paint clumps – Sometimes the pigment will form a clump in the paint and cause a clog
Recommended Fixes for a Clogged Airbrush:
- Make sure the paint is thinned properly and has no clumps in it.
- Clean the needle tip with a wipe or damp paper towel
- Empty the paint, flush out the airbrush with water or airbrush cleaner
- Remove and clean the needle
- Remove and clean the nozzle
Airbrush sprays paint before I pull trigger back
Sometimes when you push down the trigger for air, paint will flow before you want it too. Usually this is a problem with the seal on the front of the airbrush. Needle and nozzle need to have a good seal or the paint will leak through.
Causes of Paint Spray before Trigger Pull Back might be:
- Dried paint
- bent or damaged needle or nozzle
- Needle is not seated correctly.
Recommended Fixes for Paint Spray before Trigger Pull Back:
- Clean the needle thoroughly, remove dry paint from the needle and nozzle.
- Reseat the needle so it’s snug but don’t use too much force.
- Swap out needle/nozzle if the problem persists.
No Air Coming Out of Airbrush
I had this happen twice. Once and in my case it was the trigger not being installed right after a deep cleaning. The second was the O Ring in the trigger assembly. That one took me forever to figure out. I cleaned it 3 times and finally disassembled the air valve assembly and noticed the o-ring wasn’t on correctly.
I’ve also seen others with different causes of this issue so here we go:
Causes of No Air Flow
- Trigger is not working correctly to start air flow
- Compressor or hose is not supplying air to the airbrush
- Air Valve Assembly is faulty or needs cleaning
- Clog somewhere along the air flow pathway
Recommended Fixes for No Air Flow
- Check that the compressor is on and working
- Check that the hose is supplying air
- Disassemble and Clean the airbrush
- Make sure the trigger is working properly
- Disassemble and check the air valve assembly
Airbrush Paint Cup Bubbling with Air
I think this has only happened to me once, but it’s a pretty common issue on forums. Ultimately it’s something stopping or restricting paint and air from flowing or air is leaking somewhere within the airbrush and bubbling back up.
As usual, cleaning the airbrush might resolve this. But there are more things we can try:
Causes of Cup Bubbling
- Imperfect seal with nozzle and airbrush
- Clog in air path
- Dried paint in nozzle
- Crack or bent nozzle
Recommended Fixes for Cup Bubbling
- Be sure the nozzle head is screwed on snugly but not too tight
- Clean the nozzle, especially where it sits against the main airbrush body
- Clean the airbrush itself to be sure no dried paint is clogging it
- Check the nozzle for cracks or imperfections
Spray is Not Shooting Straight
This is another problem I see come up a lot, but I’ve never had this happen to me. Solutions here are based on what has worked for the people who had this issue and solved it. Also basing it on my knowledge of how the airbrush works.
Causes of Spray not Shooting Straight
- Bent, damaged or poorly seated needle
- Bent, damaged, cracked or poorly seated nozzle
- Dried paint on the Needle or in the nozzle
Recommended Fixes for Spray Not Shooting Straight
- First step should be cleaning the needle tip – Remove any dried paint
- Check that the needle is seated properly, snug but not too tight
- Check the needle tip to see if it’s damaged
- Check the nozzle for any dried paint or damage
What Causes Airbrush Clogging, spitting and sputtering?
Airbrush Clogging, spitting and sputtering is most often caused by dried paint or clumps in the paint you are using. This problem happens more often on the very small nozzle size airbrushes. Dried paint is a common issue that can be easily prevented with flow improver and good technique, or fixed by cleaning the needle and nozzle.
Clumps in your paint is something you can check for before you use it if it becomes an issue. Pour the paint into a cup and mix it with some thinner, while checking for clumps.
Other causes stem from air pressure being uneven. Either from the compressor or possibly the air path through the airbrush. An improperly seated trigger assembly is an example of a problem that might make the air pressure unstable.
Causes of Clogging, Spitting and Sputtering Airbrushes
- Dried Paint on the airbrush needle
- Dried Paint in the nozzle of the airbrush
- Unstable air pressure from the compressor
- Trigger assembly leak or problem
Recommended Fixes for Clogging, Spitting and Sputtering Airbrushes
- Spray Airbrush Flow Improver through your brush before you spray any paint
- Check your paint for any clumps in it before spraying.
- Clean the needle and nozzle of any dried paint
- Check the air pressure coming out of the airbrush to see if it is consistent
- Check your trigger and assembly to be sure it’s not sticking
Airbrush and Compressor Settings and Maintenance:
I wanted to end this one with my personal recommendations for set up and maintenance.
Air Compressor PSI: Pounds per Square Inch or PSI is a measure of air pressure. Most Airbrush Compressors will have a gauge that you can set to a range of pressure.
I set my airbrush compressor to 25 PSI. I adjust up or down from there if the situation calls for it, but for 95% of my airbrush work I’ll have it at 25.
If I’m doing very up close delicate work, I’ll dial it down to maybe 20 or so. If I’m doing large volume painting, like on terrain pieces for example or big vehicles, I’ll dial it up just a bit to prevent clogging and keep things moving.
Spray Distance: Spray distance is exactly what it sounds like: The distance from the tip of the airbrush nozzle to the target. Understand that the spray comes out in a cone. It is the narrowest closest to the nozzle and expands out from there. The cone size depends on the nozzle diameter.
If you spray close to a miniature, the surface it covers is small and more concentrated. If you pull back, the surface is larger, and more diffuse.
Play with different distances to gauge what you want to use in any given circumstance. You can test this on paper to see the patterns clearly.
Cleaning Your Airbrush: I place this topic into two categories: Quick Clean and Deep Clean. A quick clean is what I’ll do when changing paint colors or stopping my painting for the day. A deep clean is what I’ll do when I feel it’s needed, maybe once ever couple of weeks.
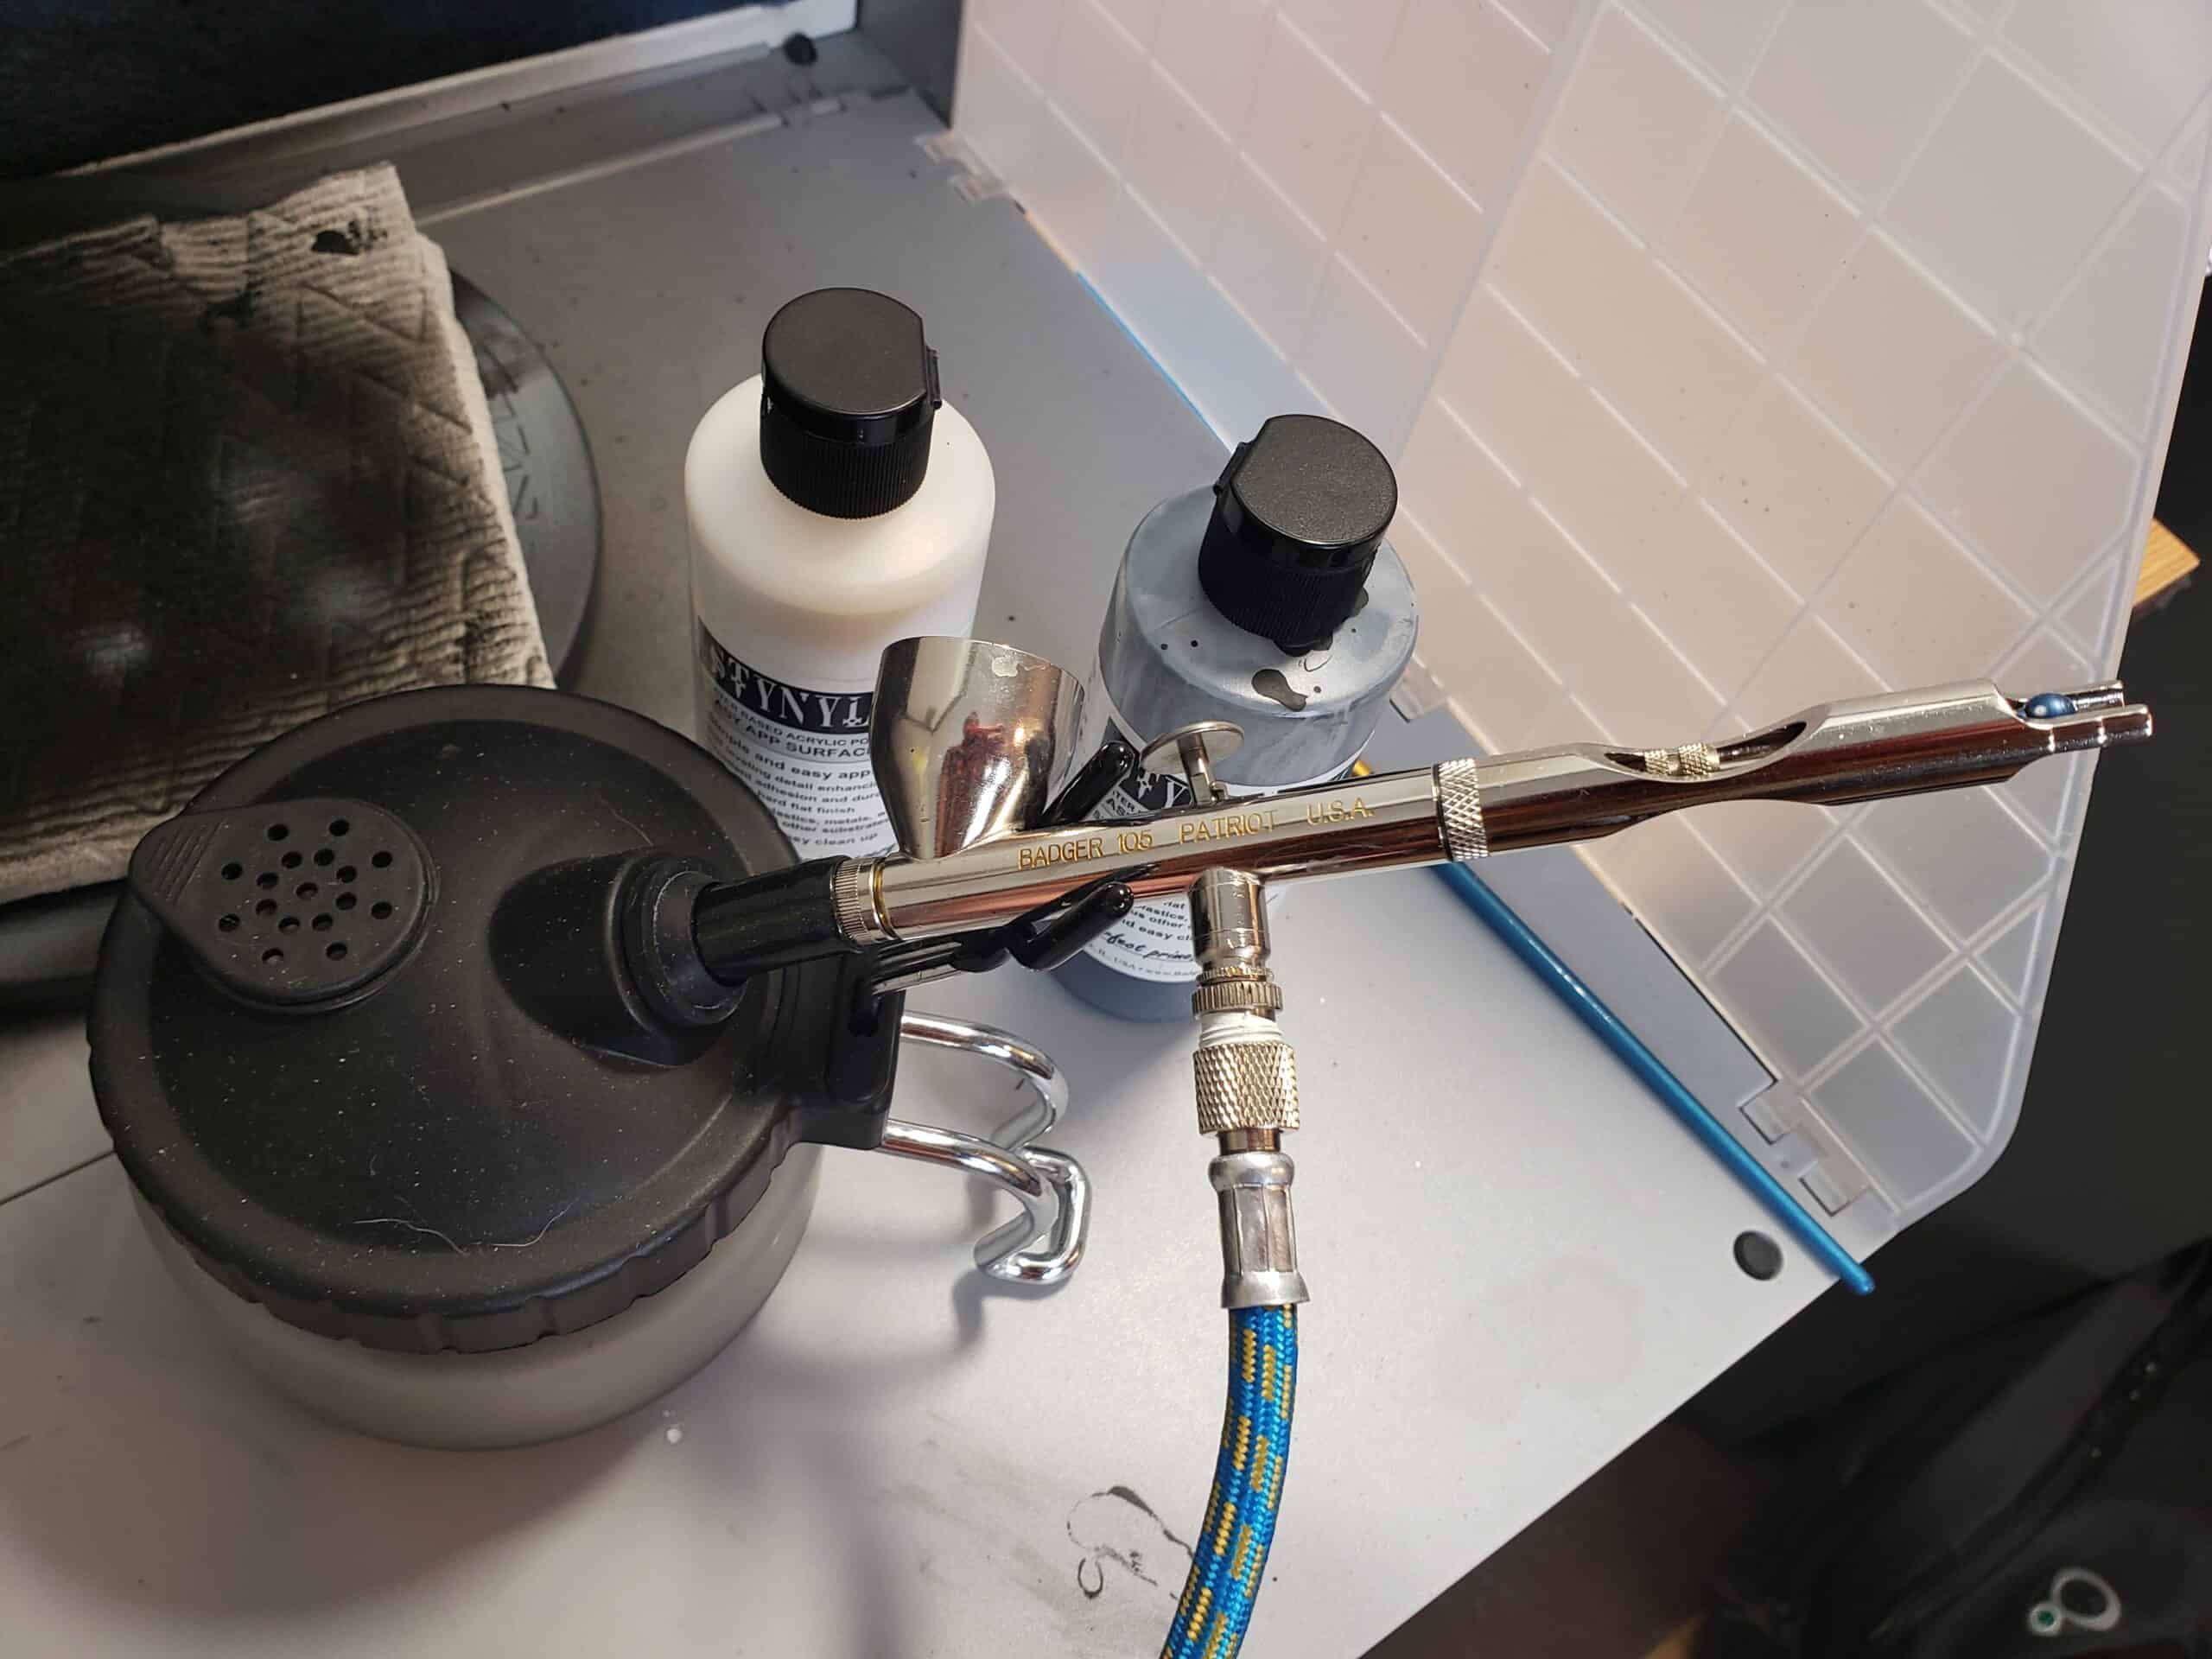
Quick Airbrush Cleaning: Get yourself a squirt bottle, fill it with water. Squirt water into the cup and dump it to get out the majority of paint. Then fill the cup with water, plug the nozzle and backflow by blowing air. The plugged nozzle will cause the air to bubble back up into the cup and help clean things out.
Next I like to use a wet wipe to clean out the paint cup. Just simply wipe it out and get what you can. I also like to wipe the needle tip with it. (Just be careful don’t poke yourself or bend the tip)
Finally I’ll pour in some Airbrush Cleaner and spray it through the airbrush. Done
Deep Airbrush Cleaning: This involves disassembling the airbrush and giving it a good cleaning. I use airbrush cleaning tools like a long thin wire brush to clean out the nozzle and needle chamber. I use a sonic cleaner to soak all the parts in an isopropyl alcohol bath. I’ll give the needle a good cleaning with a wet wipe.
This is a longer process since it involves disassembling, waiting on the sonic cleaner, and then reassembling, but it’s not very complicated.